Crossplane for Beginners using the Kubernetes Provider

I recently had the pleasure of working with Crossplane, and it was a bit difficult initially.
As I'm not a Kubernetes expert, I had to learn multiple things simultaneously, but that's no Crossplane's fault.
In this article, I want to share an introduction I wish I had when I first started using Crossplane.
This is both a technical and non-technical article. If you're interested in only using Crossplane, I suggest checking out the documentation.
Let's start with the big question.
What the hell is Crossplane?
To answer that, I must first talk about Kubernetes.
Kubernetes was first created to orchestrate containers. But then it evolved into something much more comprehensive. Kubernetes became the standard for managing containerized applications, enabling developers and operators to automate their applications' deployment, scaling, and management in a distributed environment.
It provides a platform for automating and orchestrating container operations across a cluster of machines, making it easier to manage applications at scale.
But then somewhat asked:
Why am I limited to just containers? (or the limited resources that Kubernetes provides out of the box)
Why can't I manage all kinds of resources in Kubernetes, such as:
- AWS services such as EKS, S3, Databases (RDS)
- Azure services such as virtual networks, virtual machines, etc...
- GitHub teams, repositories, etc...
- Pagerduty users, teams, services, etc...
Essentially, anything that has an accessible API.
But isn't this just like Terraform?
Yes, but it utilizes the Kubernetes control plane under the hood. So it gets the benefit of being a Kubernetes resource. So things like:
- Automatic syncing – The tool automatically keeps the desired and manyactual state of your resources in sync. If there's a drift from the desired state, the system can automatically apply changes to reconcile the state.
- Self-healing capabilities – Kubernetes has built-in mechanisms to detect and rectify failures. If a resource managed by the tool fails or becomes unhealthy, Kubernetes can automatically attempt to heal the system by restarting containers, re-scheduling workloads, or scaling resources.
- Declarative configuration - Similar to Terraform, you define your infrastructure as code in a declarative manner. However, by leveraging Kubernetes, you gain the advantage of integrating more seamlessly with Kubernetes resources and services.
- Scalability - Leveraging Kubernetes means you can easily scale your resources up or down based on demand. Kubernetes' control plane automates the distribution and scheduling of workloads across a cluster, optimizing resource utilization.
- Community and ecosystem - By aligning with Kubernetes, you tap into a large and active community. This comes with many plugins, tools, and extensions that can enhance and simplify managing your infrastructure.
- Security features - Kubernetes offers several built-in security features, such as role-based access control (RBAC), network policies, and Secrets management. These features can be leveraged to secure the infrastructure managed by the tool.
- Multi-cloud and hybrid-cloud support - Kubernetes is designed to run across various environments, including on-premises, public clouds, and hybrid clouds. This flexibility allows for consistent management of resources regardless of their location.
Okay, how do I use Crossplane?
Step 0: Get Access to a Kubernetes Cluster
First of all, you must have access to a Kubernetes cluster. For this tutorial, I'll be using Kind to create a local Kubernetes cluster.
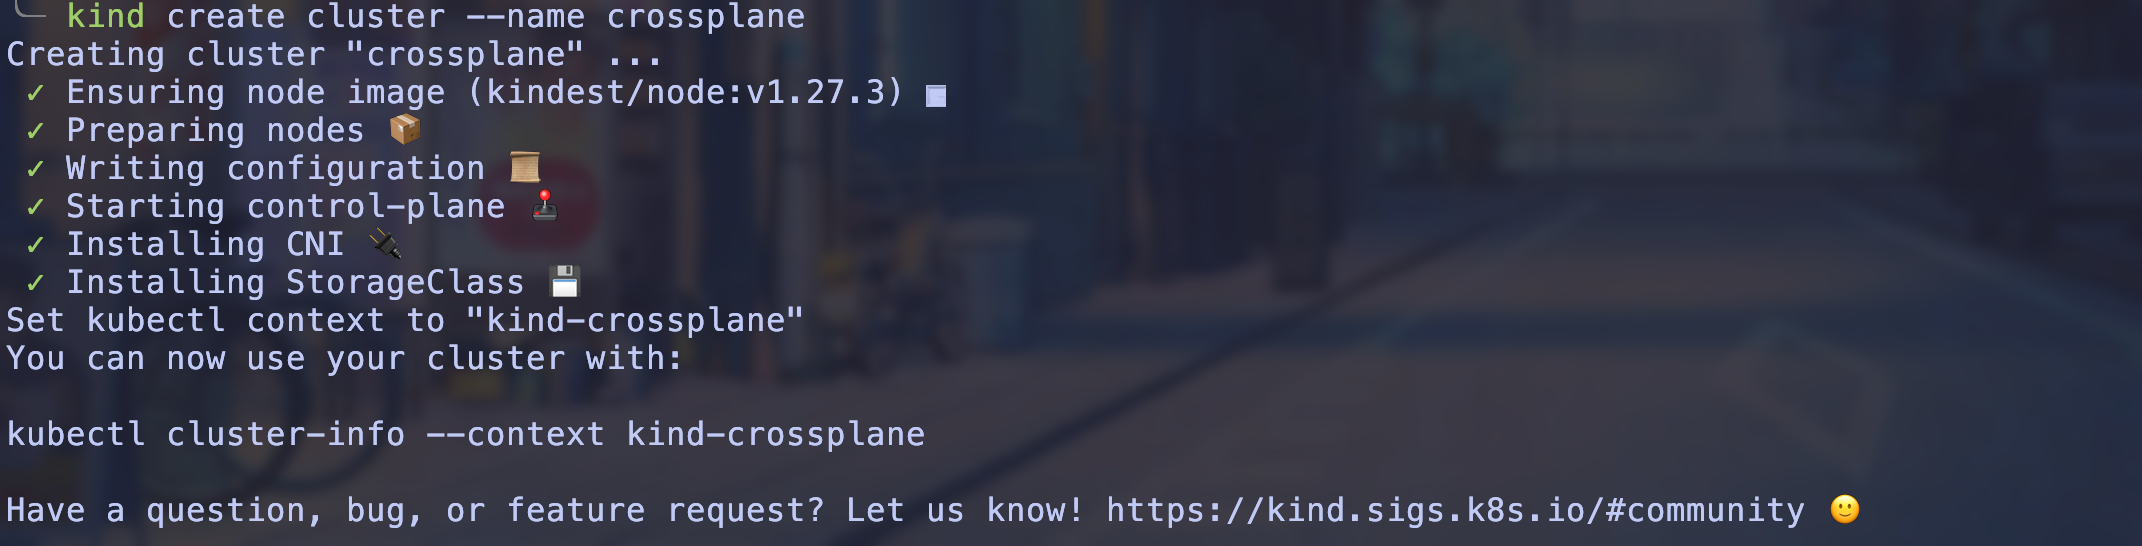
Let's create one named Crossplane:
kind create cluster --name crossplane
Once it's complete, you should see something like this:
Step 1: Installing Crossplane
Adding the Crossplane Helm Repository
We can easily install Crossplane using Helm. But we must first add the Crossplane Helm repository:
helm repo add crossplane-stable https://charts.crossplane.io/stableUpdate the local Helm chart cache with helm repo update.
helm repo updateInstalling the Crossplane Helm Chart
Install the Crossplane Helm chart with helm install:
helm install crossplane \
--namespace crossplane-system \
--create-namespace crossplane-stable/crossplane
Installing Crossplane on the crossplane-system namespace.
When you list the pods in your crossplane-system namespace, you should see something like this:

Step 2: Install a Provider
You can find all sorts of different providers from the Upbound marketplace.
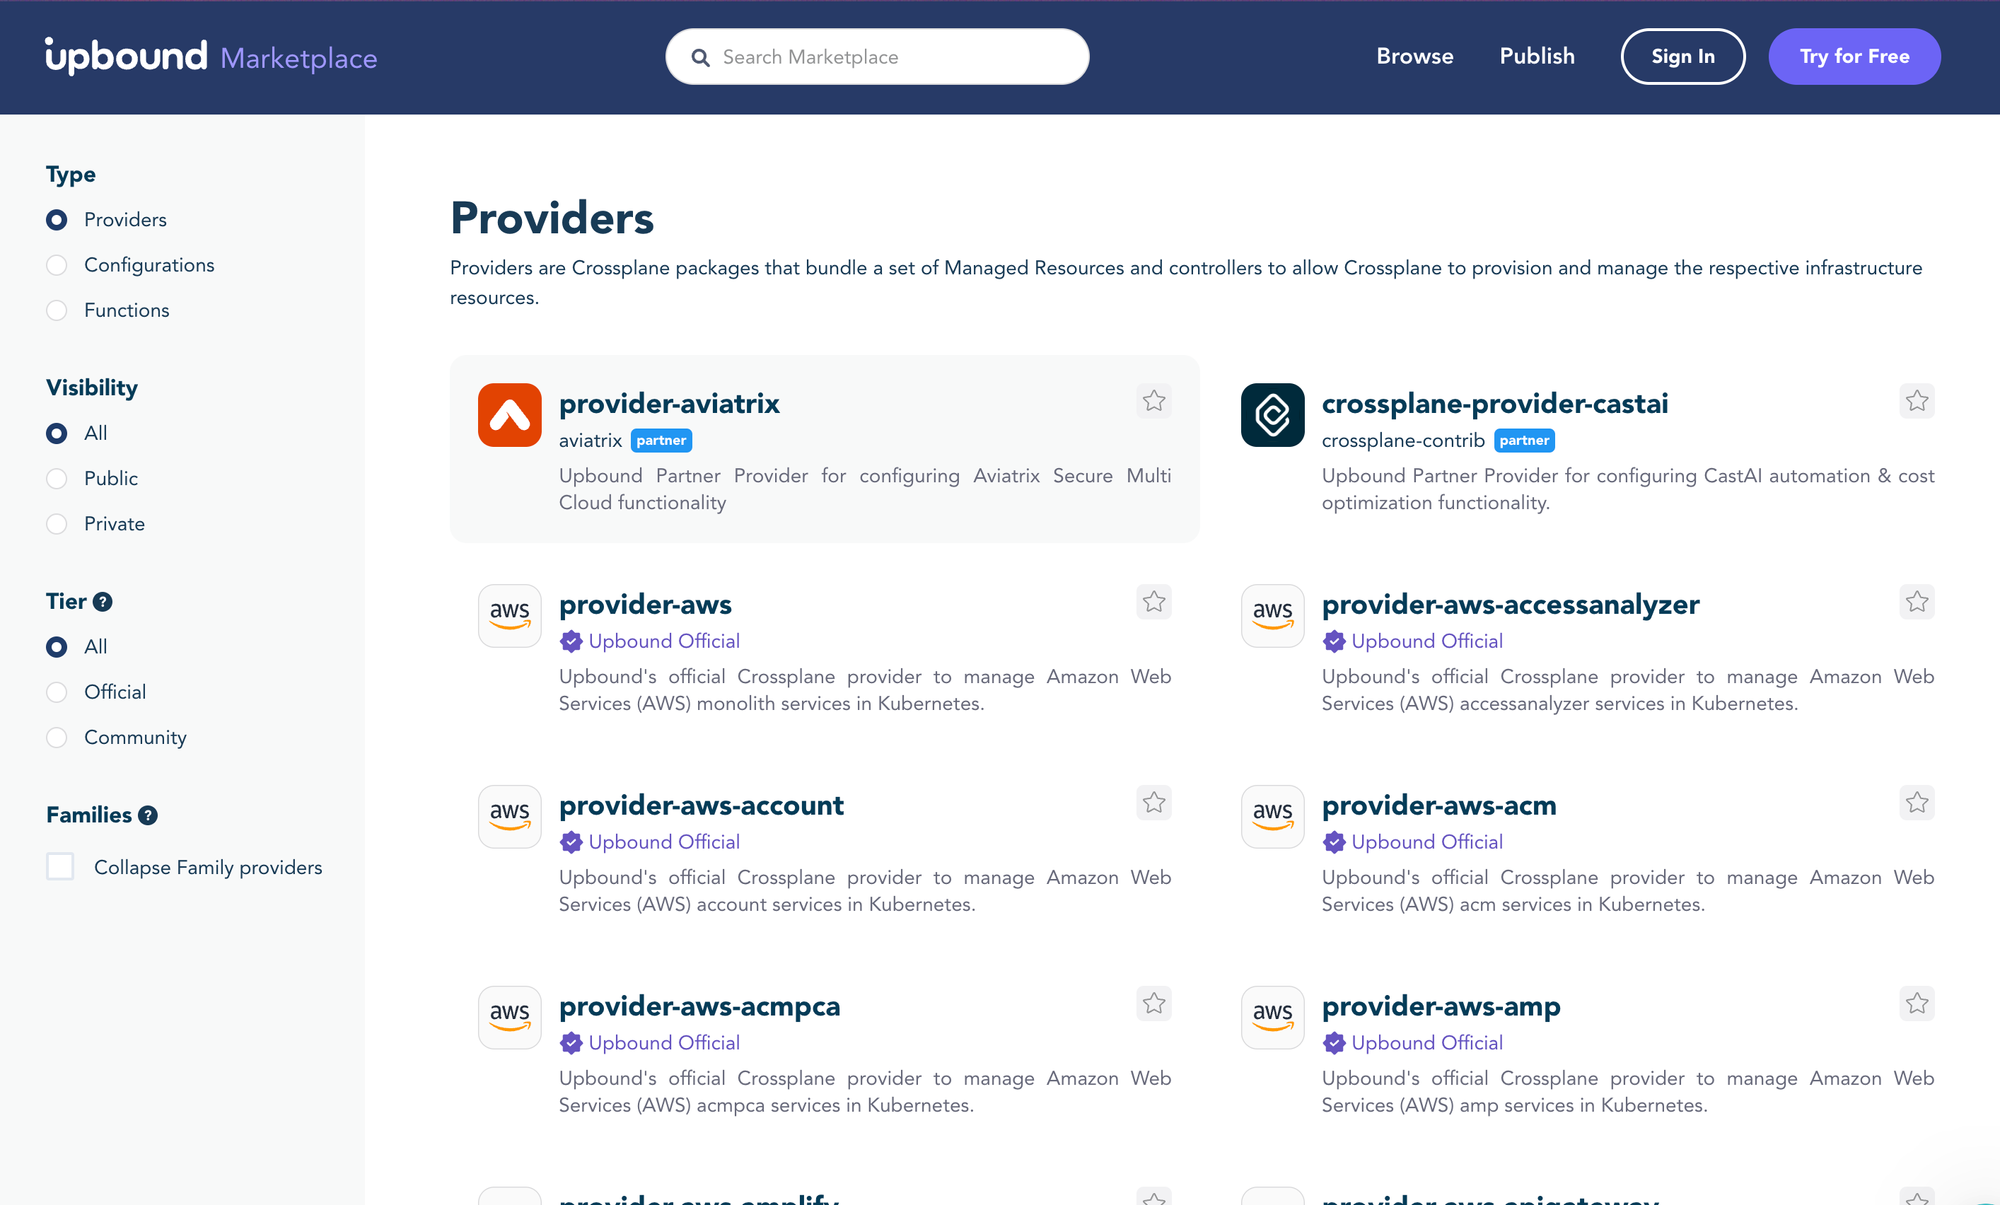
For our tutorial, I'll be using the Kubernetes Crossplane Provider.
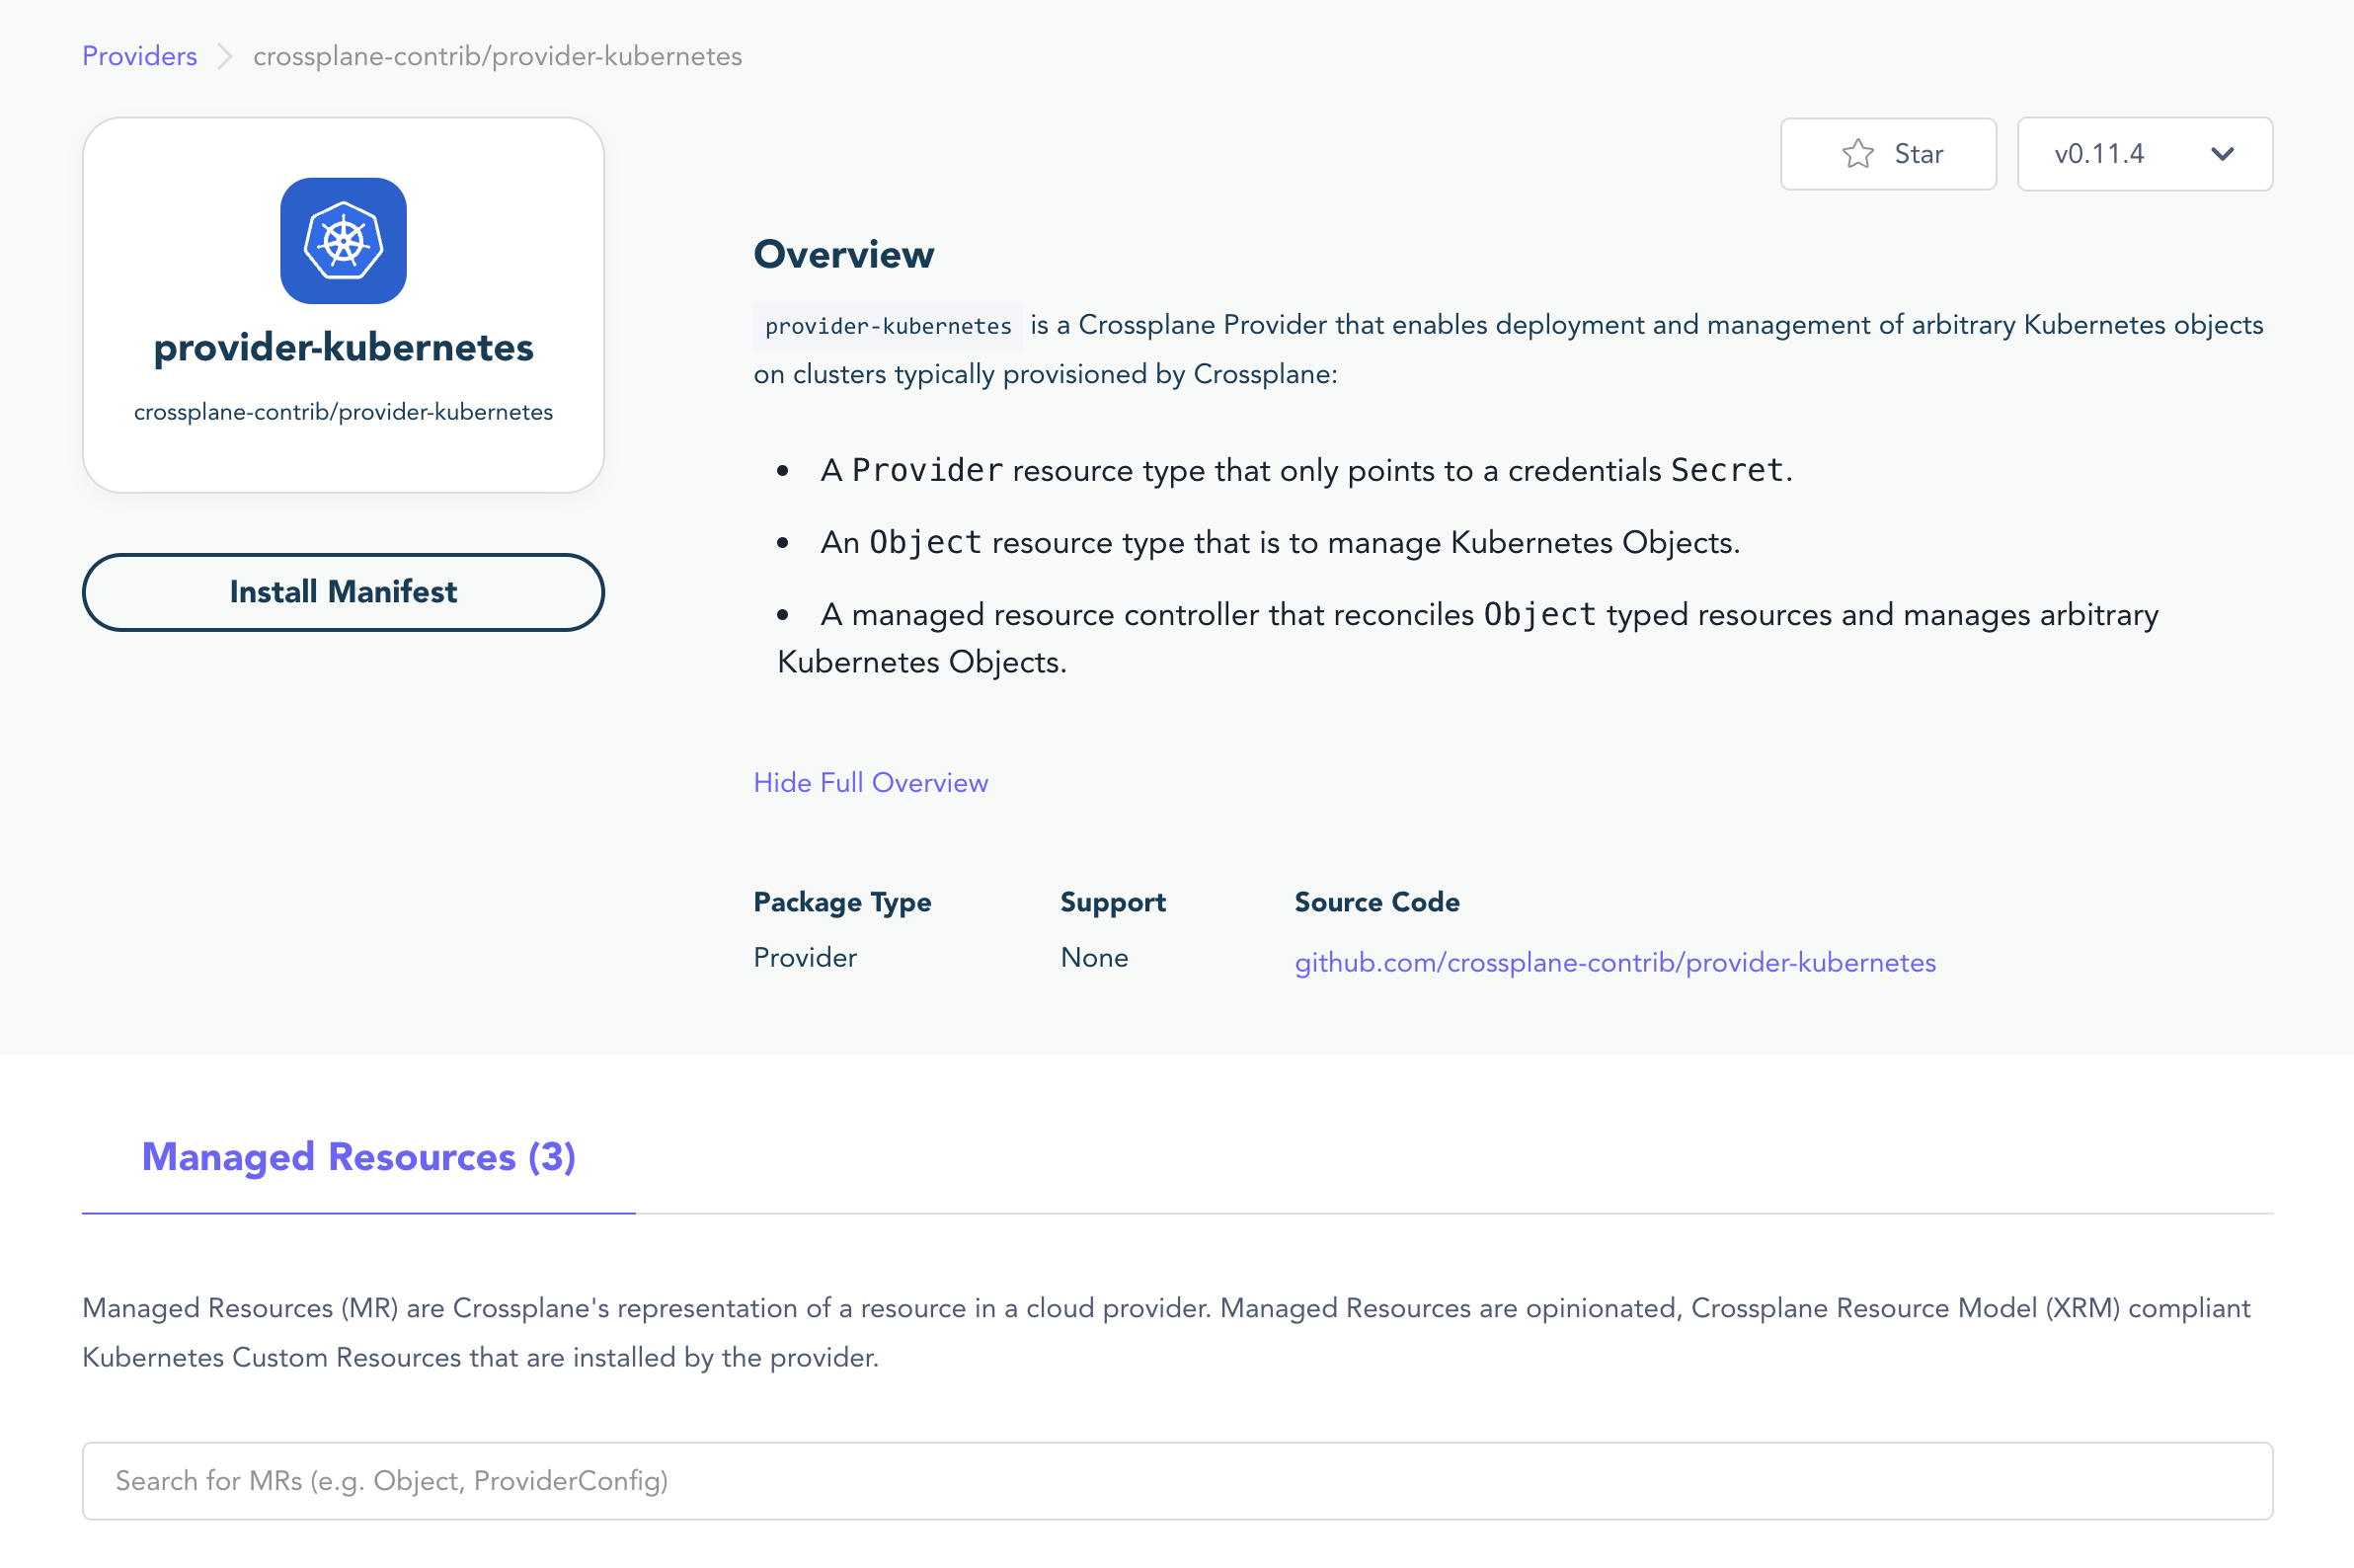
How do we install this?
If I click on the Install Manifest button, it shows me the following instructions:

Okay, so here I learned that we have a custom Kubernetes CRD from Crossplane called Provider and spec.package we specify the link to the provider's image.
Let's create a file called kubernetes-provider.yaml:
apiVersion: pkg.crossplane.io/v1
kind: Provider
metadata:
  name: provider-kubernetes
spec:
  package: xpkg.upbound.io/crossplane-contrib/provider-kubernetes:v0.11.4
Let's apply this manifest, with the following command:
kubectl apply -f kubernetes-provider.yaml We can get all the providers using Kubectl to check if it's working.

Step 3: Configuring the Provider to Work
Up until this point, it was all standard Crossplane stuff.
Now, it's more provider-specific. Most providers would need a ProviderConfig resource that would have all the credentials needed to do the stuff you want.
In our case, if I go to the GitHub page of the provider, I will see some instructions.
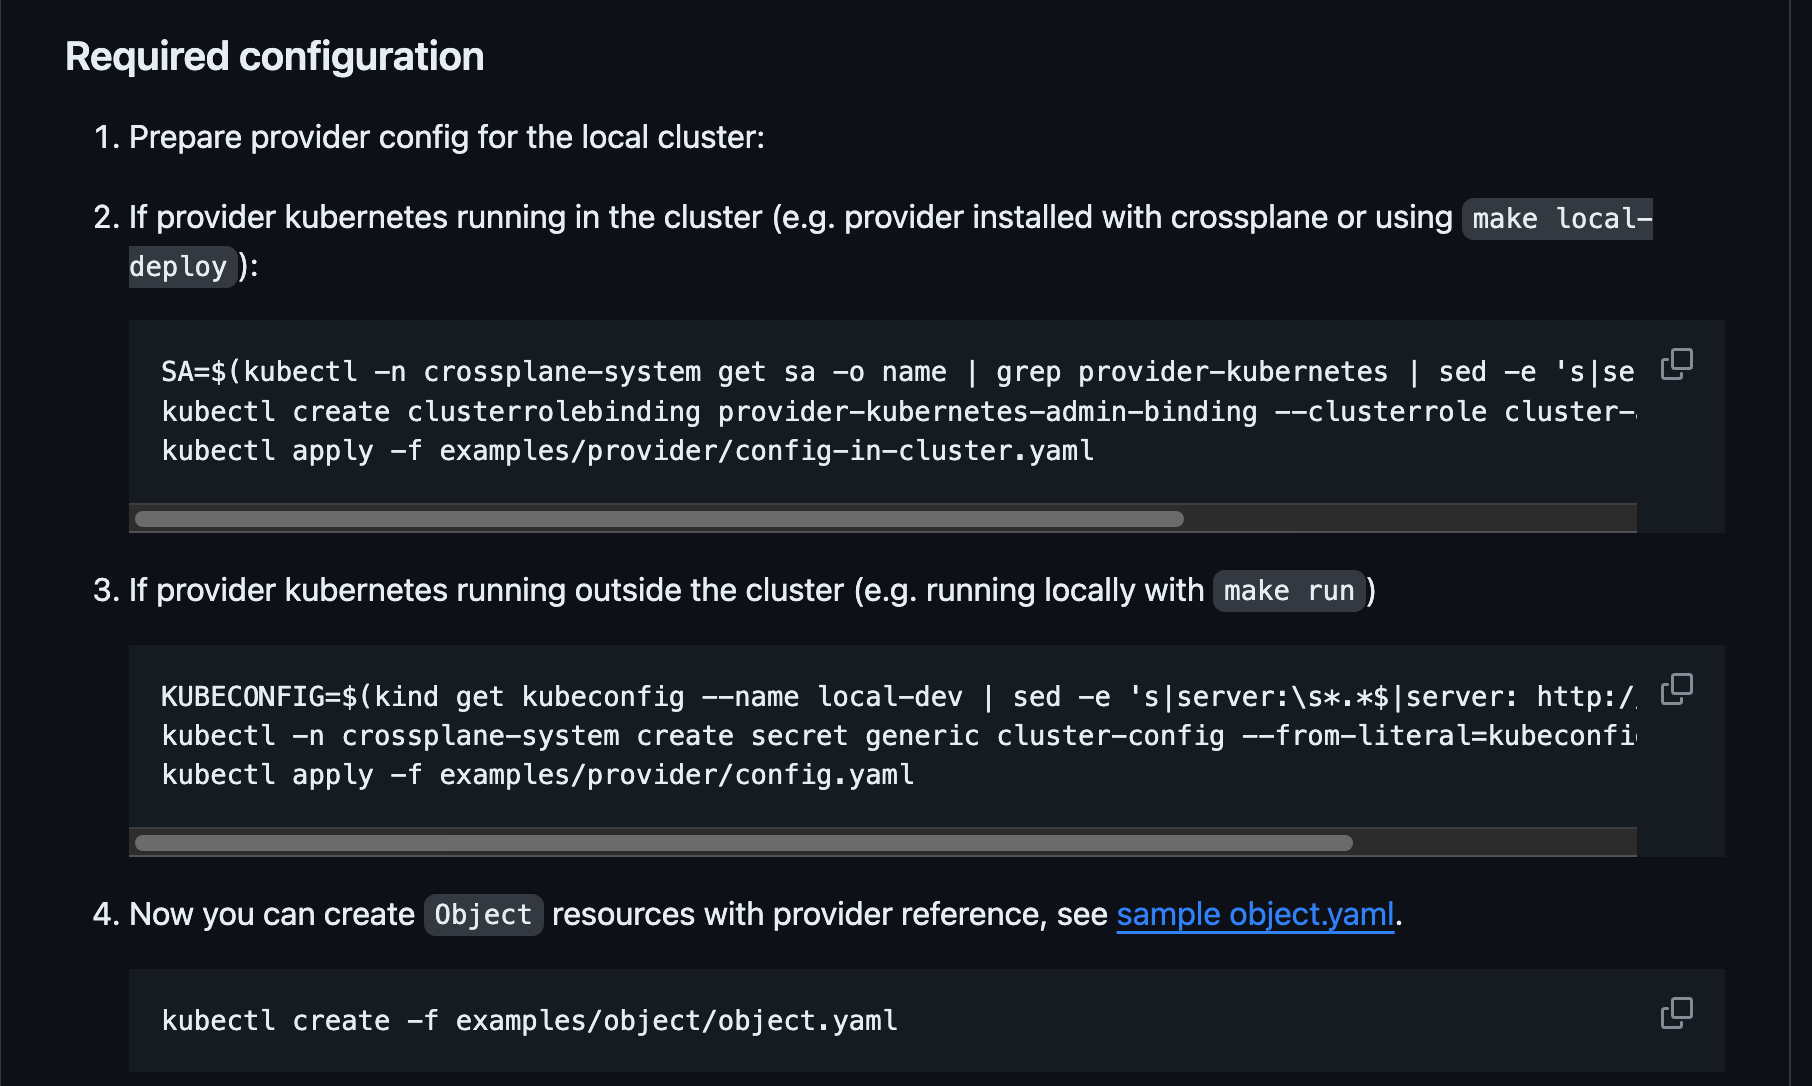
Okay, when I first saw this I was confused as heck but turns out it's not that complicated.
I first of all copied two files that they had in their examples folder that I would need which are:
provider-in-cluster.yamlconfig-in-cluster.yaml
As I want to manipulate the cluster, in which my provider already exists, I would just need those two files.
All I have to do then is to run the following command:
SA=$(kubectl -n crossplane-system get sa -o name | grep provider-kubernetes | sed -e 's|serviceaccount\/|crossplane-system:|g')
kubectl create clusterrolebinding provider-kubernetes-admin-binding --clusterrole cluster-admin --serviceaccount="${SA}"
kubectl apply -f config-in-cluster.yaml
Everything should work out of the box and I should get an output like this:

Step 4: Using the Provider
Now that all the heavy lifting is done, we can now use the provider.
But how do I use it?
Read the docs dummy...
So I went back to the provider's documentation on the upbound marketplace and noticed that they provided me with three resources.
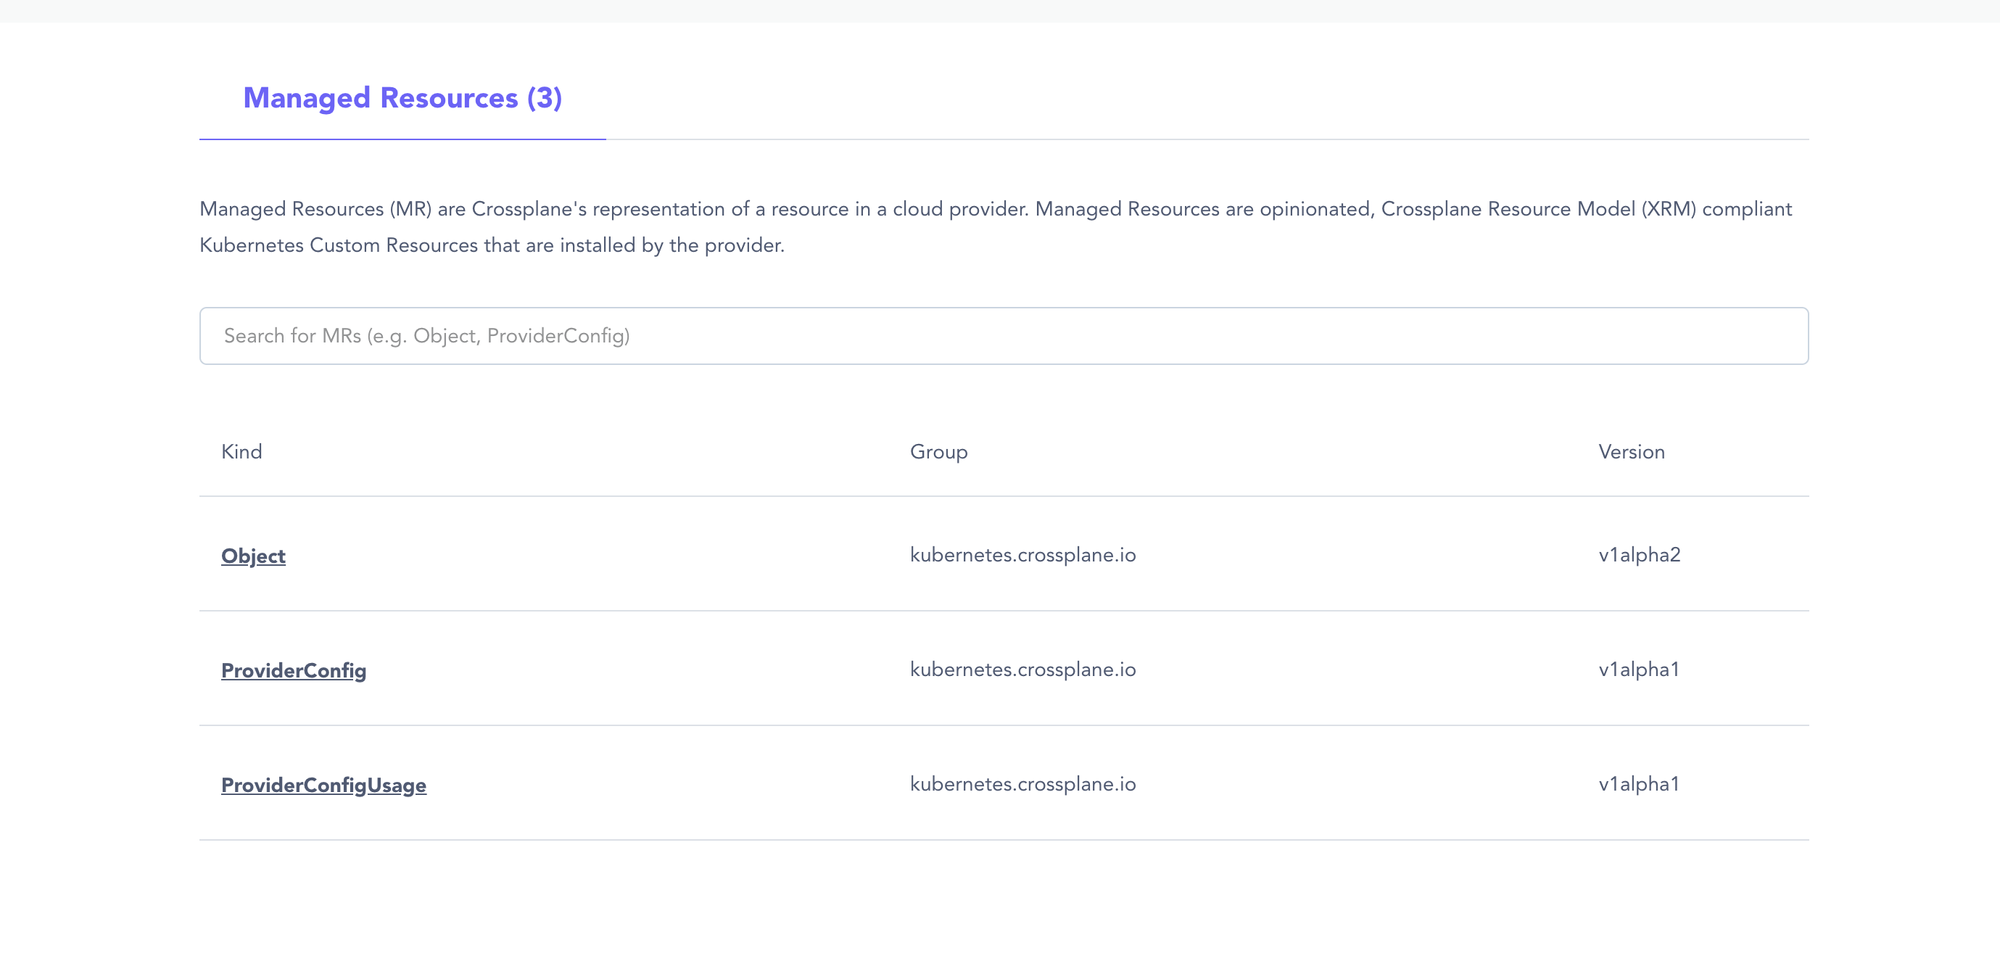
Okay, I assume that I would use the Object resource as the others refer to some provider configuration that I've already done.
Let's click on that.
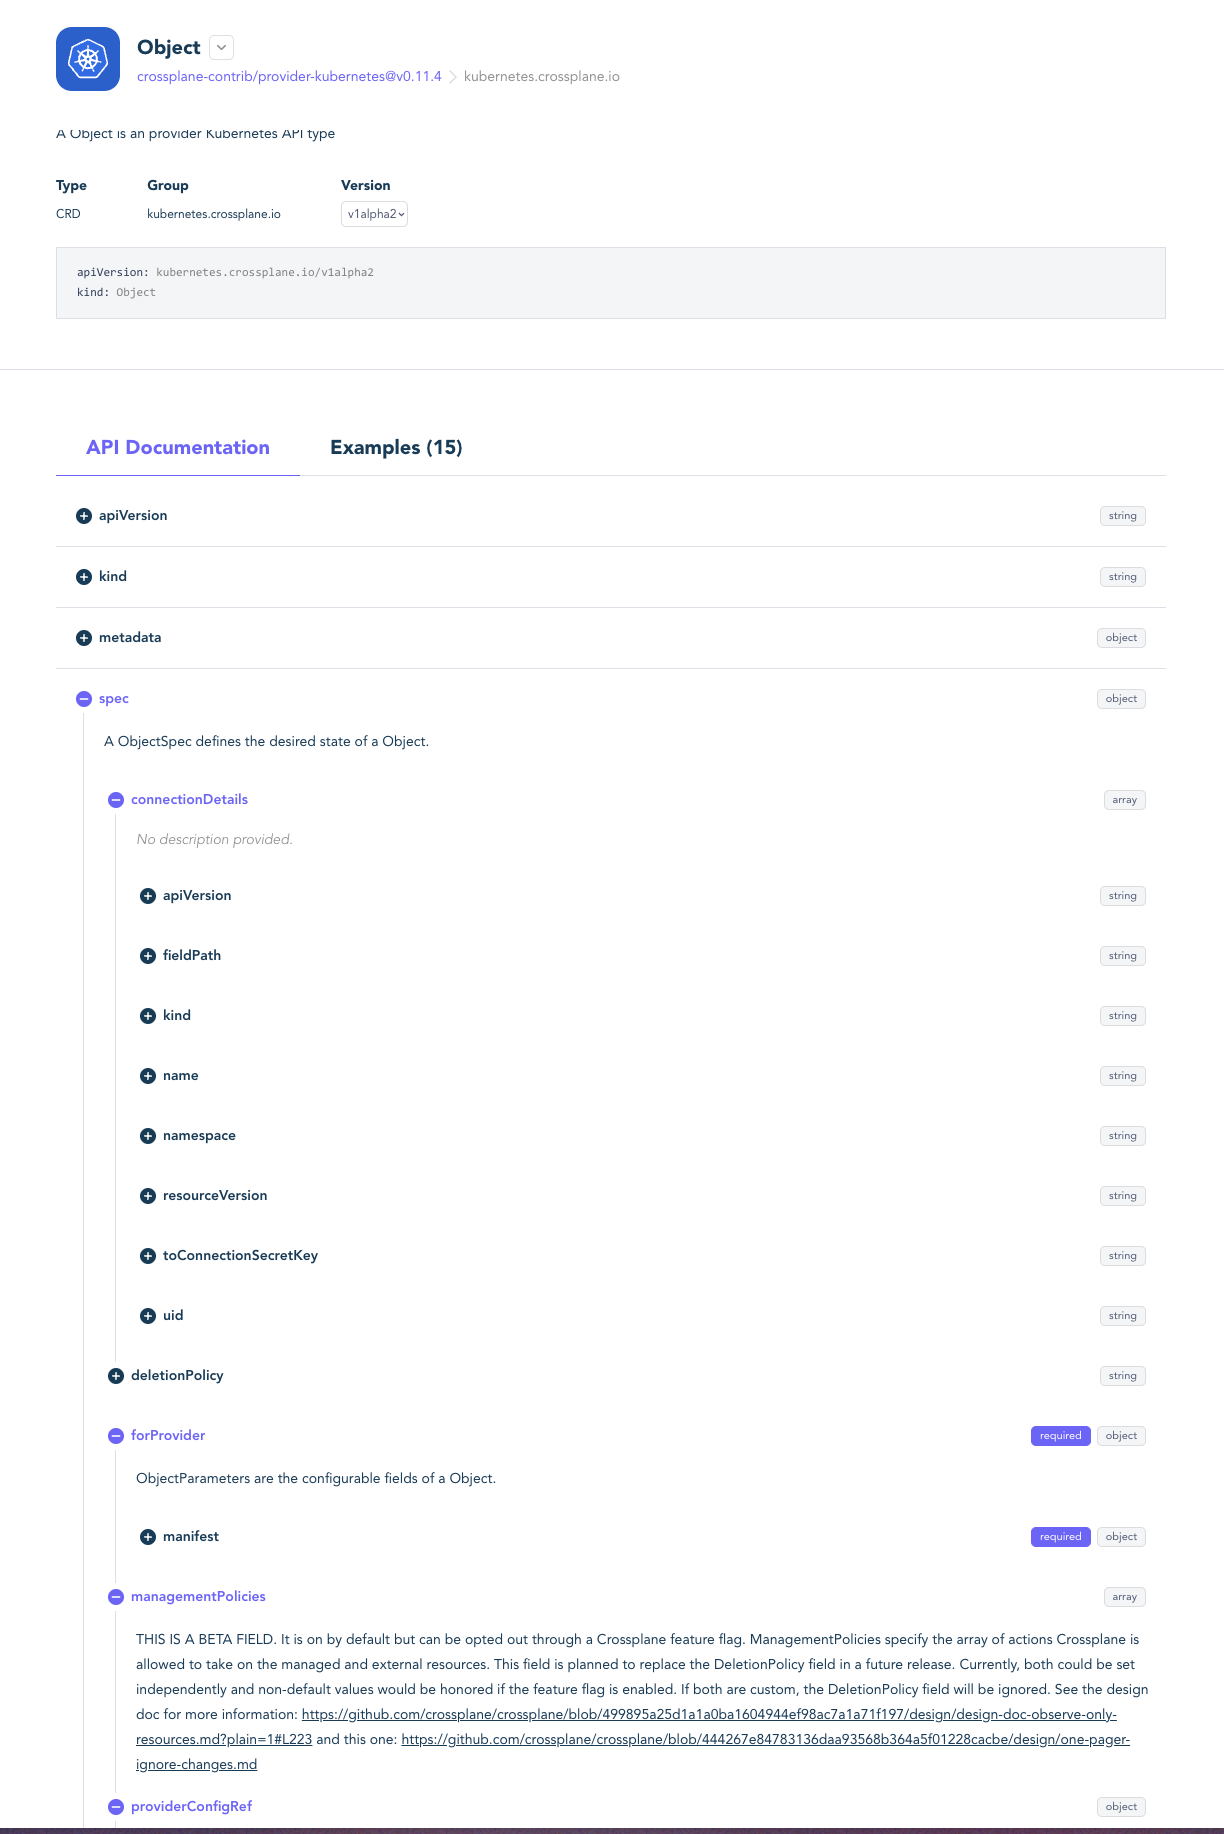
When I first saw this, I was very intimidated but noticed that they have a tab of examples.
Let's check that out.
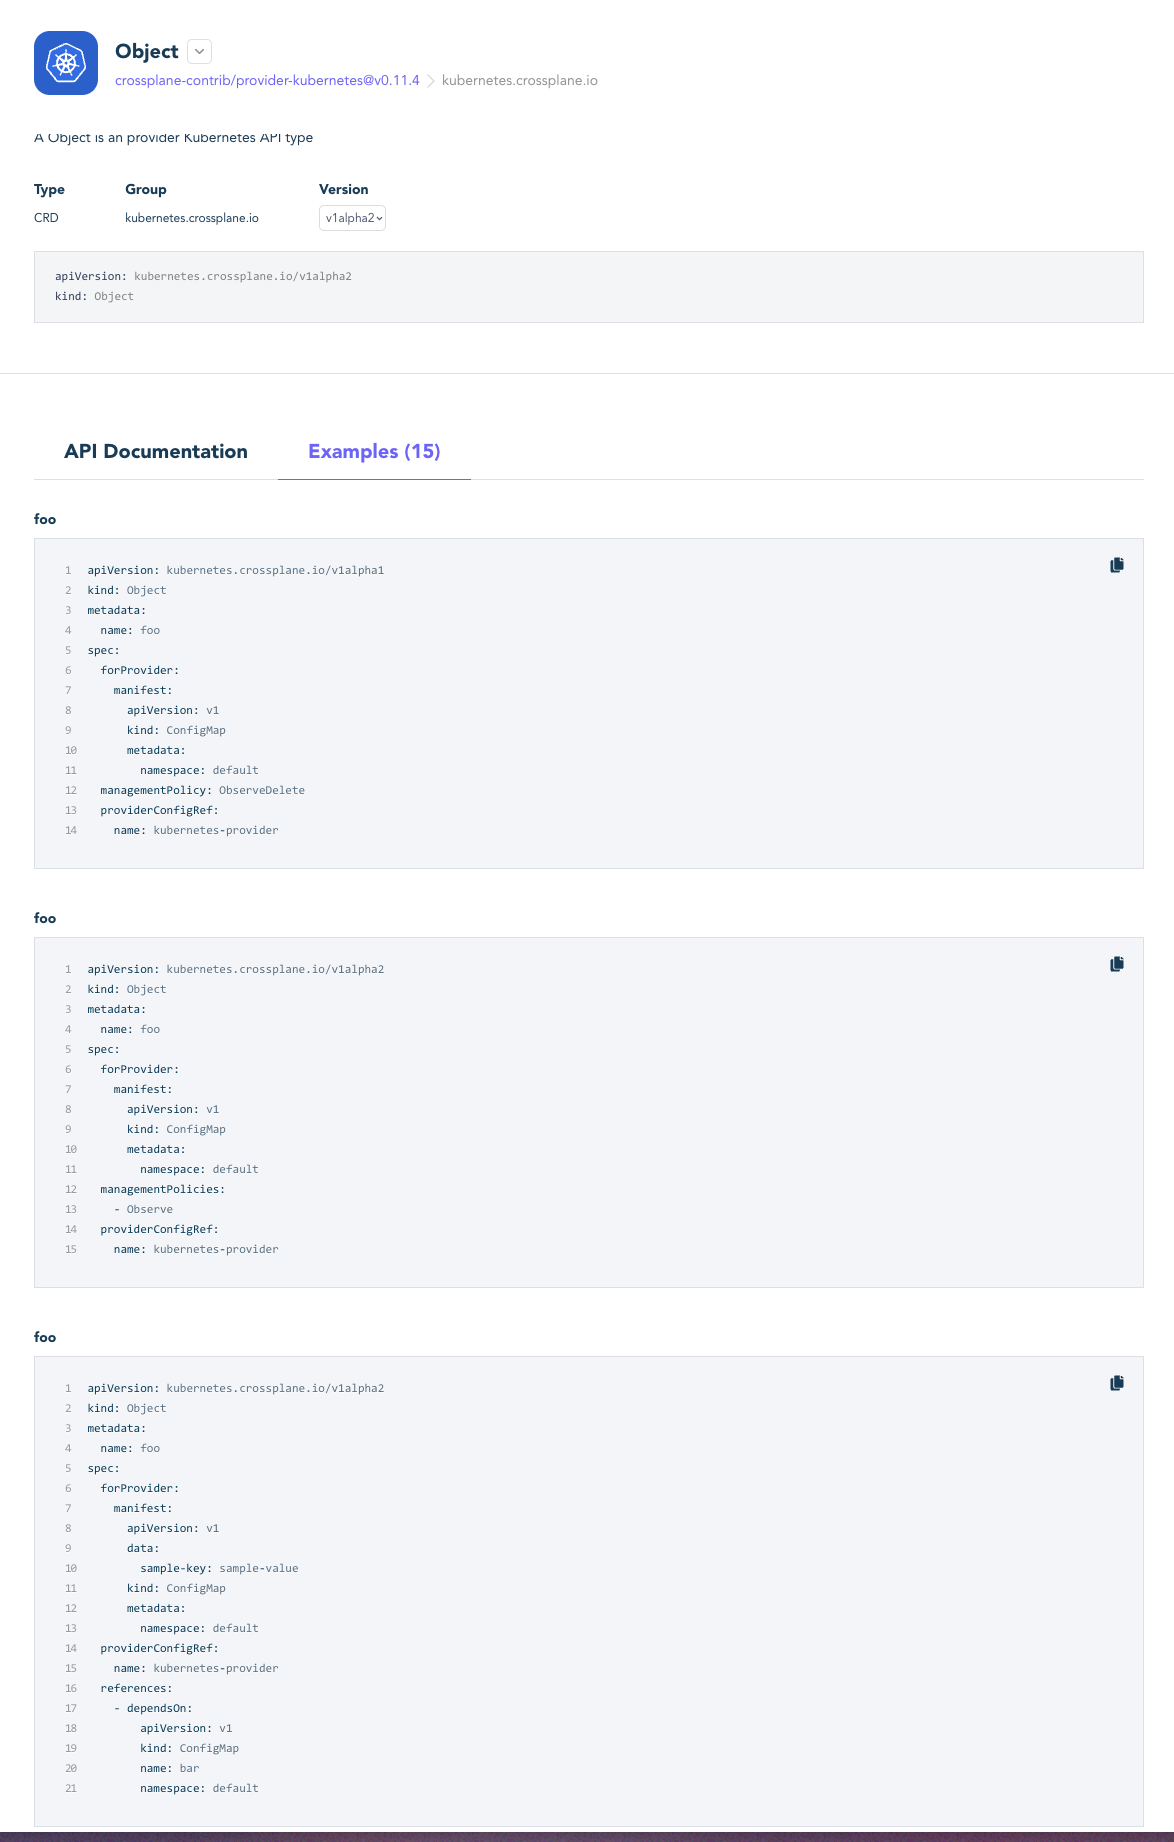
Aha, so that's how it works.
The examples gave me a basic idea of how to use this. As far as I understood I can input whatever manifest I want in the spec.forProvider.manifestof field.
Okay, let's create a namespace and call it dummy-namespace.yaml
apiVersion: kubernetes.crossplane.io/v1alpha2
kind: Object
metadata:
  name: my-dummy-namespace
spec:
  forProvider:
    manifest:
      apiVersion: v1
      kind: Namespace
      metadata:
        name: tamerlans-namespace
        labels:
          example: 'true'
  providerConfigRef:
    name: kubernetes-provider
Let's apply this and see if it works.
kubectl apply -f dummy-namespace.yamlLet me check my namespaces with the following command:
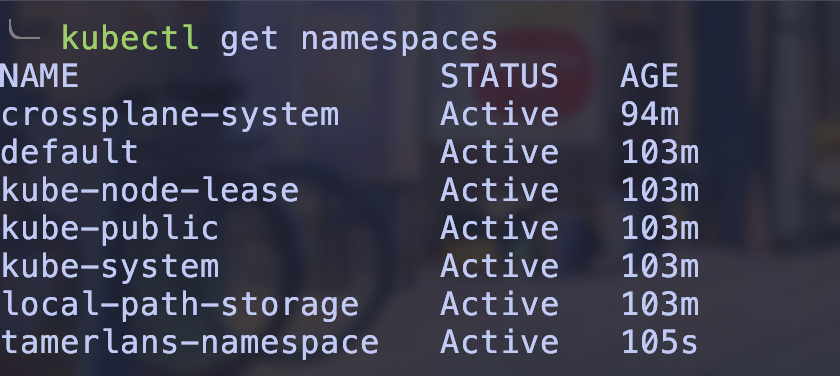
Great, I can see my custom namespace, what about my actual object resource?

Learn More
Congratulations, you just managed to create your first resource using Crossplane but this is just the beginning of your journey.
One of Crossplanes most popular features is called Compositions, where you can construct super resources made up of multiple other resources.
You can also learn about functions or even create your own provider.
Here is a list of challenges I suggest you to do:
- Create a composition that abstracts the deployment of an application. So include whatever services you need, secrets, ConfigMaps, scalers, etc...
- You can read more about compositions here.
- Learn about Crossplane functions here.
- Learn how to create your providers either by generating them or creating them from scratch.
No spam, no sharing to third party. Only you and me.
Member discussion