I've been using Neovim for the past six months. Here's what I learned
I've used Neovim as my primary IDE for the past six months.
But keep in mind that I've been "trying" to get into Vim for the past two years. I first started with the Vim plugin in VSCode. I used that until I felt comfortable with basic Vim motions.
I later then switched over to many different Neovim distros. None of them stuck to me, so I returned to VS Code.
It all changed when I decided to start from scratch. I followed some basic tutorials on how to set up a very basic config using this playlist:
I tried my best to understand every keymap, configuration, and plugin. It wasn't easy, and I was very slow. I wanted some missing features, and things were breaking here and there.
But I persevered.
I got used to the keymaps, added different plugins, and fixed some bugs. I can confidently say that I am 10 times more productive than I was back with traditional IDEs, and I have learned so much about how IDEs work.
I want to share with you what I learned these past six months and some tips on how to get started using Neovim.
Lesson 1: Modern IDEs are very distracting
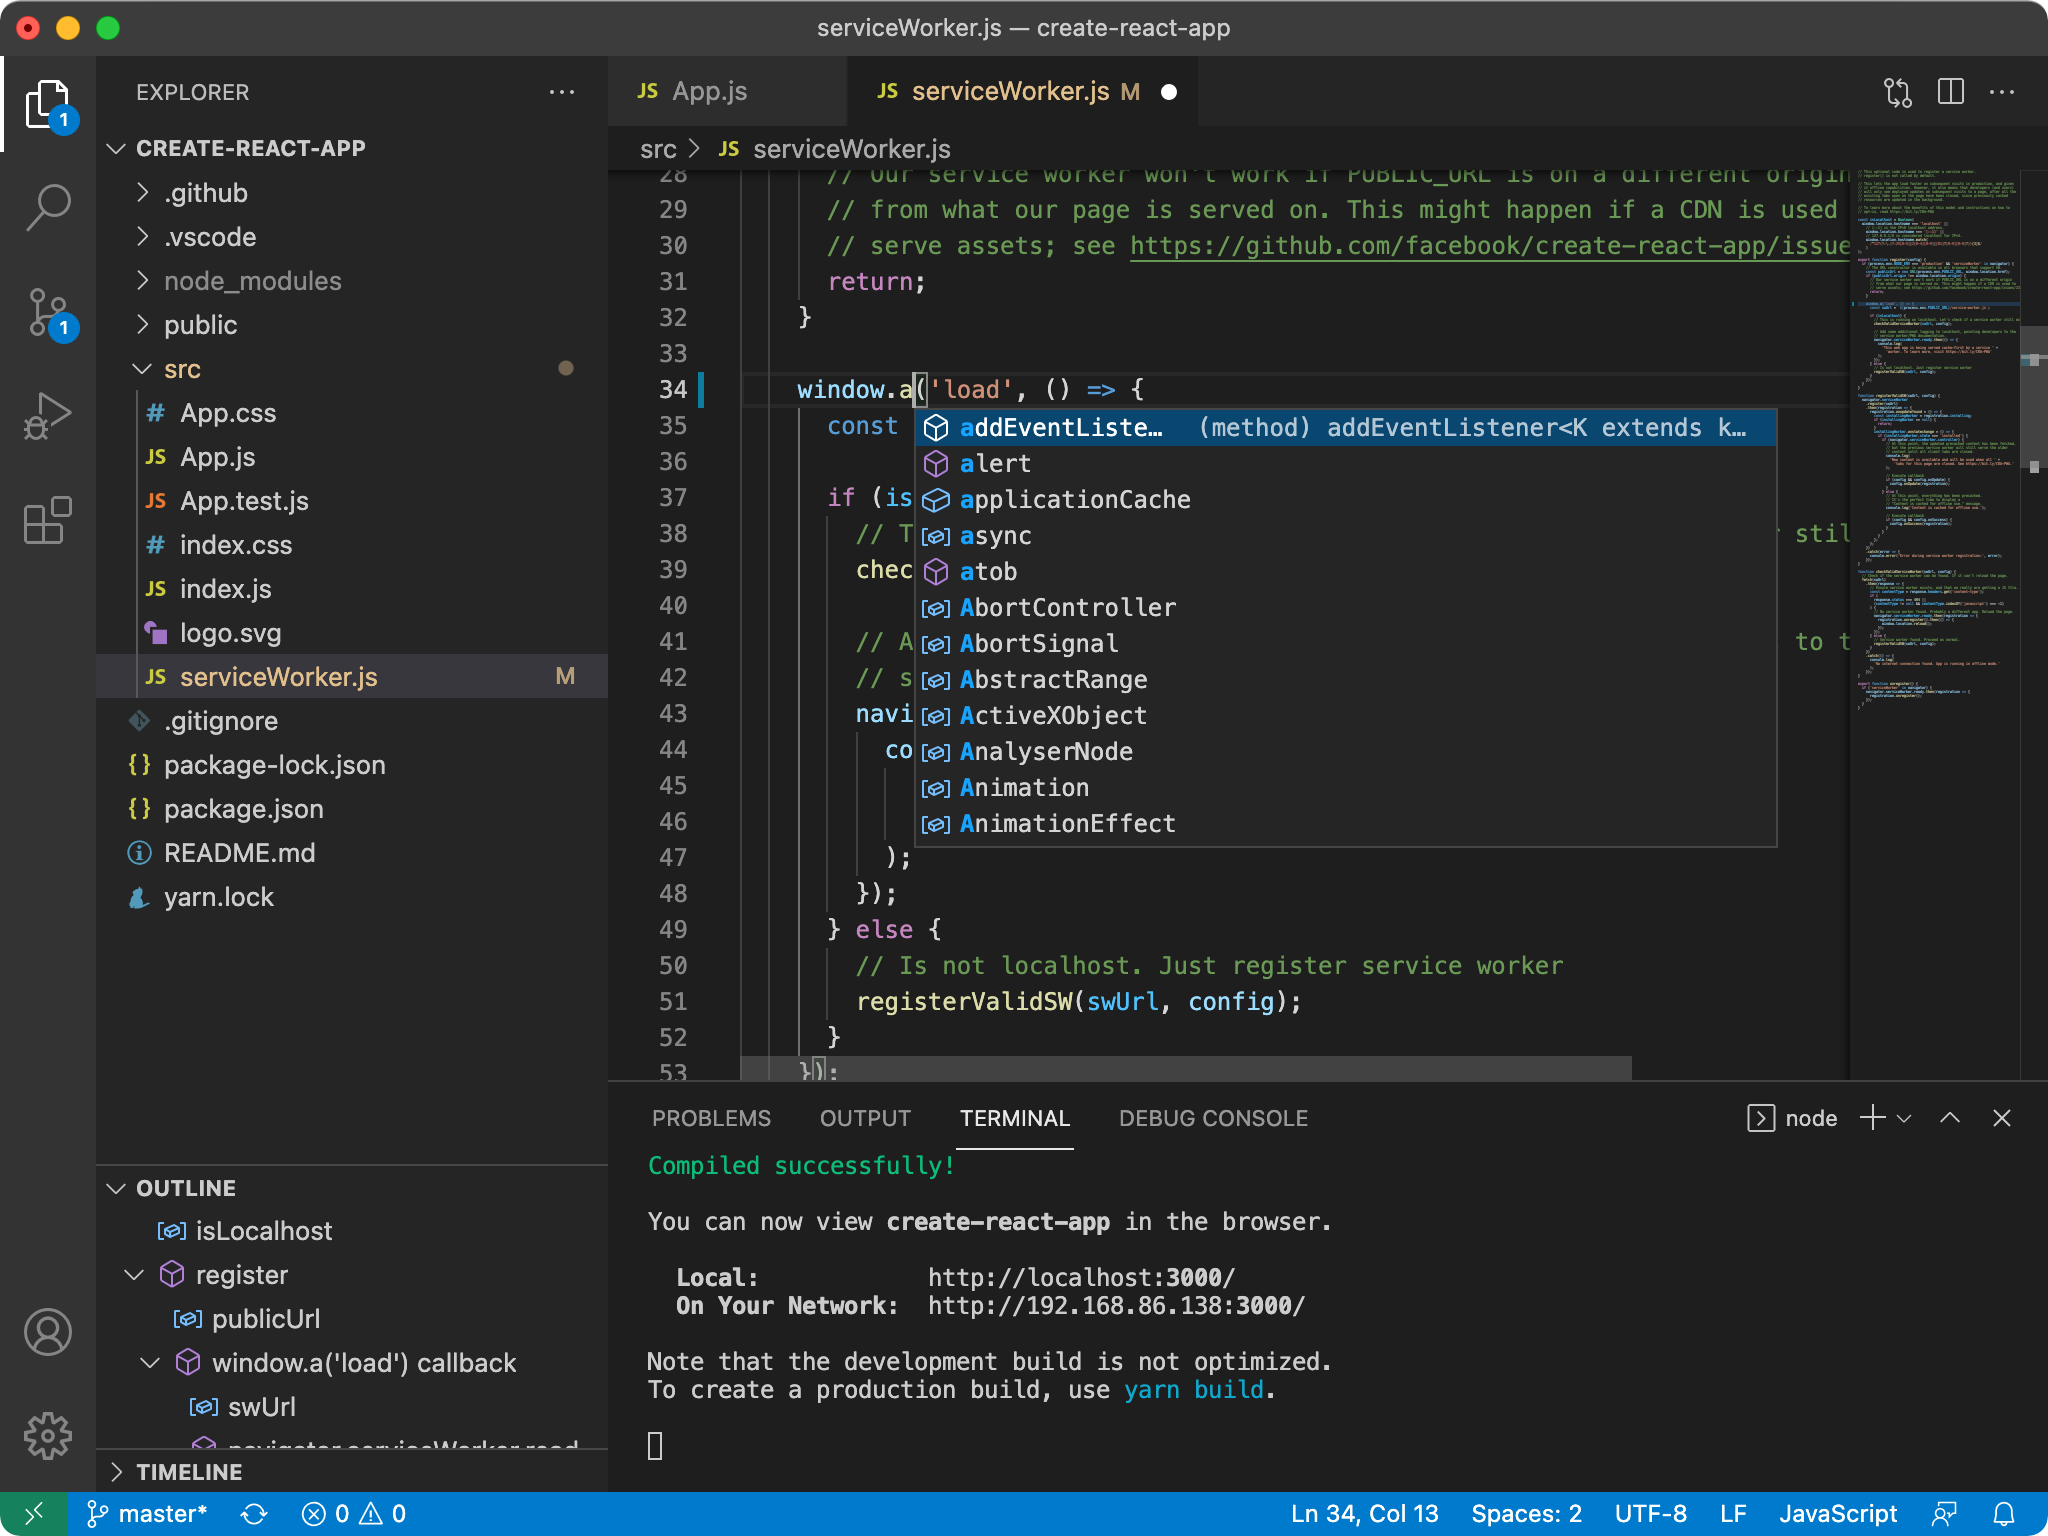
When I first opened up Neovim, it was very intimidating and bland. Little did I know back then that you don't need much to write code. I set out on the journey of making Neovim like VSCode.
I installed the VSCode-like theme and got an excellent file tree and tab bar working.
I was happy and went on with my life. After a while, I realized that those two things are very distracting.
Let me explain why.
File Tree
In VSCode, I would manage my files using the file tree on the side. But in Neovim, I don't need to do that because I can use a fuzzy finder. It's much faster to search for a file than to go to your file tree and manually open the file there.
The other problem with always having your file tree on the side is that it takes too much unnecessary space. If I already have the file that I will be working on open. Why do I need to see the file tree?
So, I quickly hid the file tree unless I needed it. I also started using it less and less. If I needed to open a file, I would search for it using telescope.
I'm not advocating never to use a file tree. I still use it to create/delete/move/rename my files, and it's helpful when I'm onboarding to a new project to get an overview of what already exists.
I also think it's beneficial to memorize some file names you have in a project. I believe it makes you know the codebase better.
Tab Bars
This one might be more controversial, but tab bars are unnecessary.
I first started noticing this when I was working, and I usually have around three to four files that I primarily edit. They would all be visible on a tab bar at the top, as usual.
To make things easier, I remapped shift+h and shift+l to navigate between tabs.
So, if I have four files open, my tabs would look something like this:
File one – File two – File three – File four
If I were in file one and wanted to go to file four, I would have to press shit+l twice. This isn't too bad, but imagine if I have more than four files that weren't ordered either.
It would be a pain to navigate tab by tab. I wanted something easier and a clean screen, so I didn't even want to look at the other tabs because it could get messy quickly.
To mitigate that, I removed tabs altogether and started using the following methods:
- Utilizing a fuzzy finder.
- If I'm working with two files, I would use
ctrl-6orctrl-^on non-mac machines. - I would use
ctrl-oandctrl-ito navigate between my jump list.
These work well if you only work with two files. If you have three or more files, I'd suggest using marks or a plugin like Harpoon.
I find marks challenging to get used to, so I plan on doing things the harpoon way.
Lesson 2: Use a bigger font size
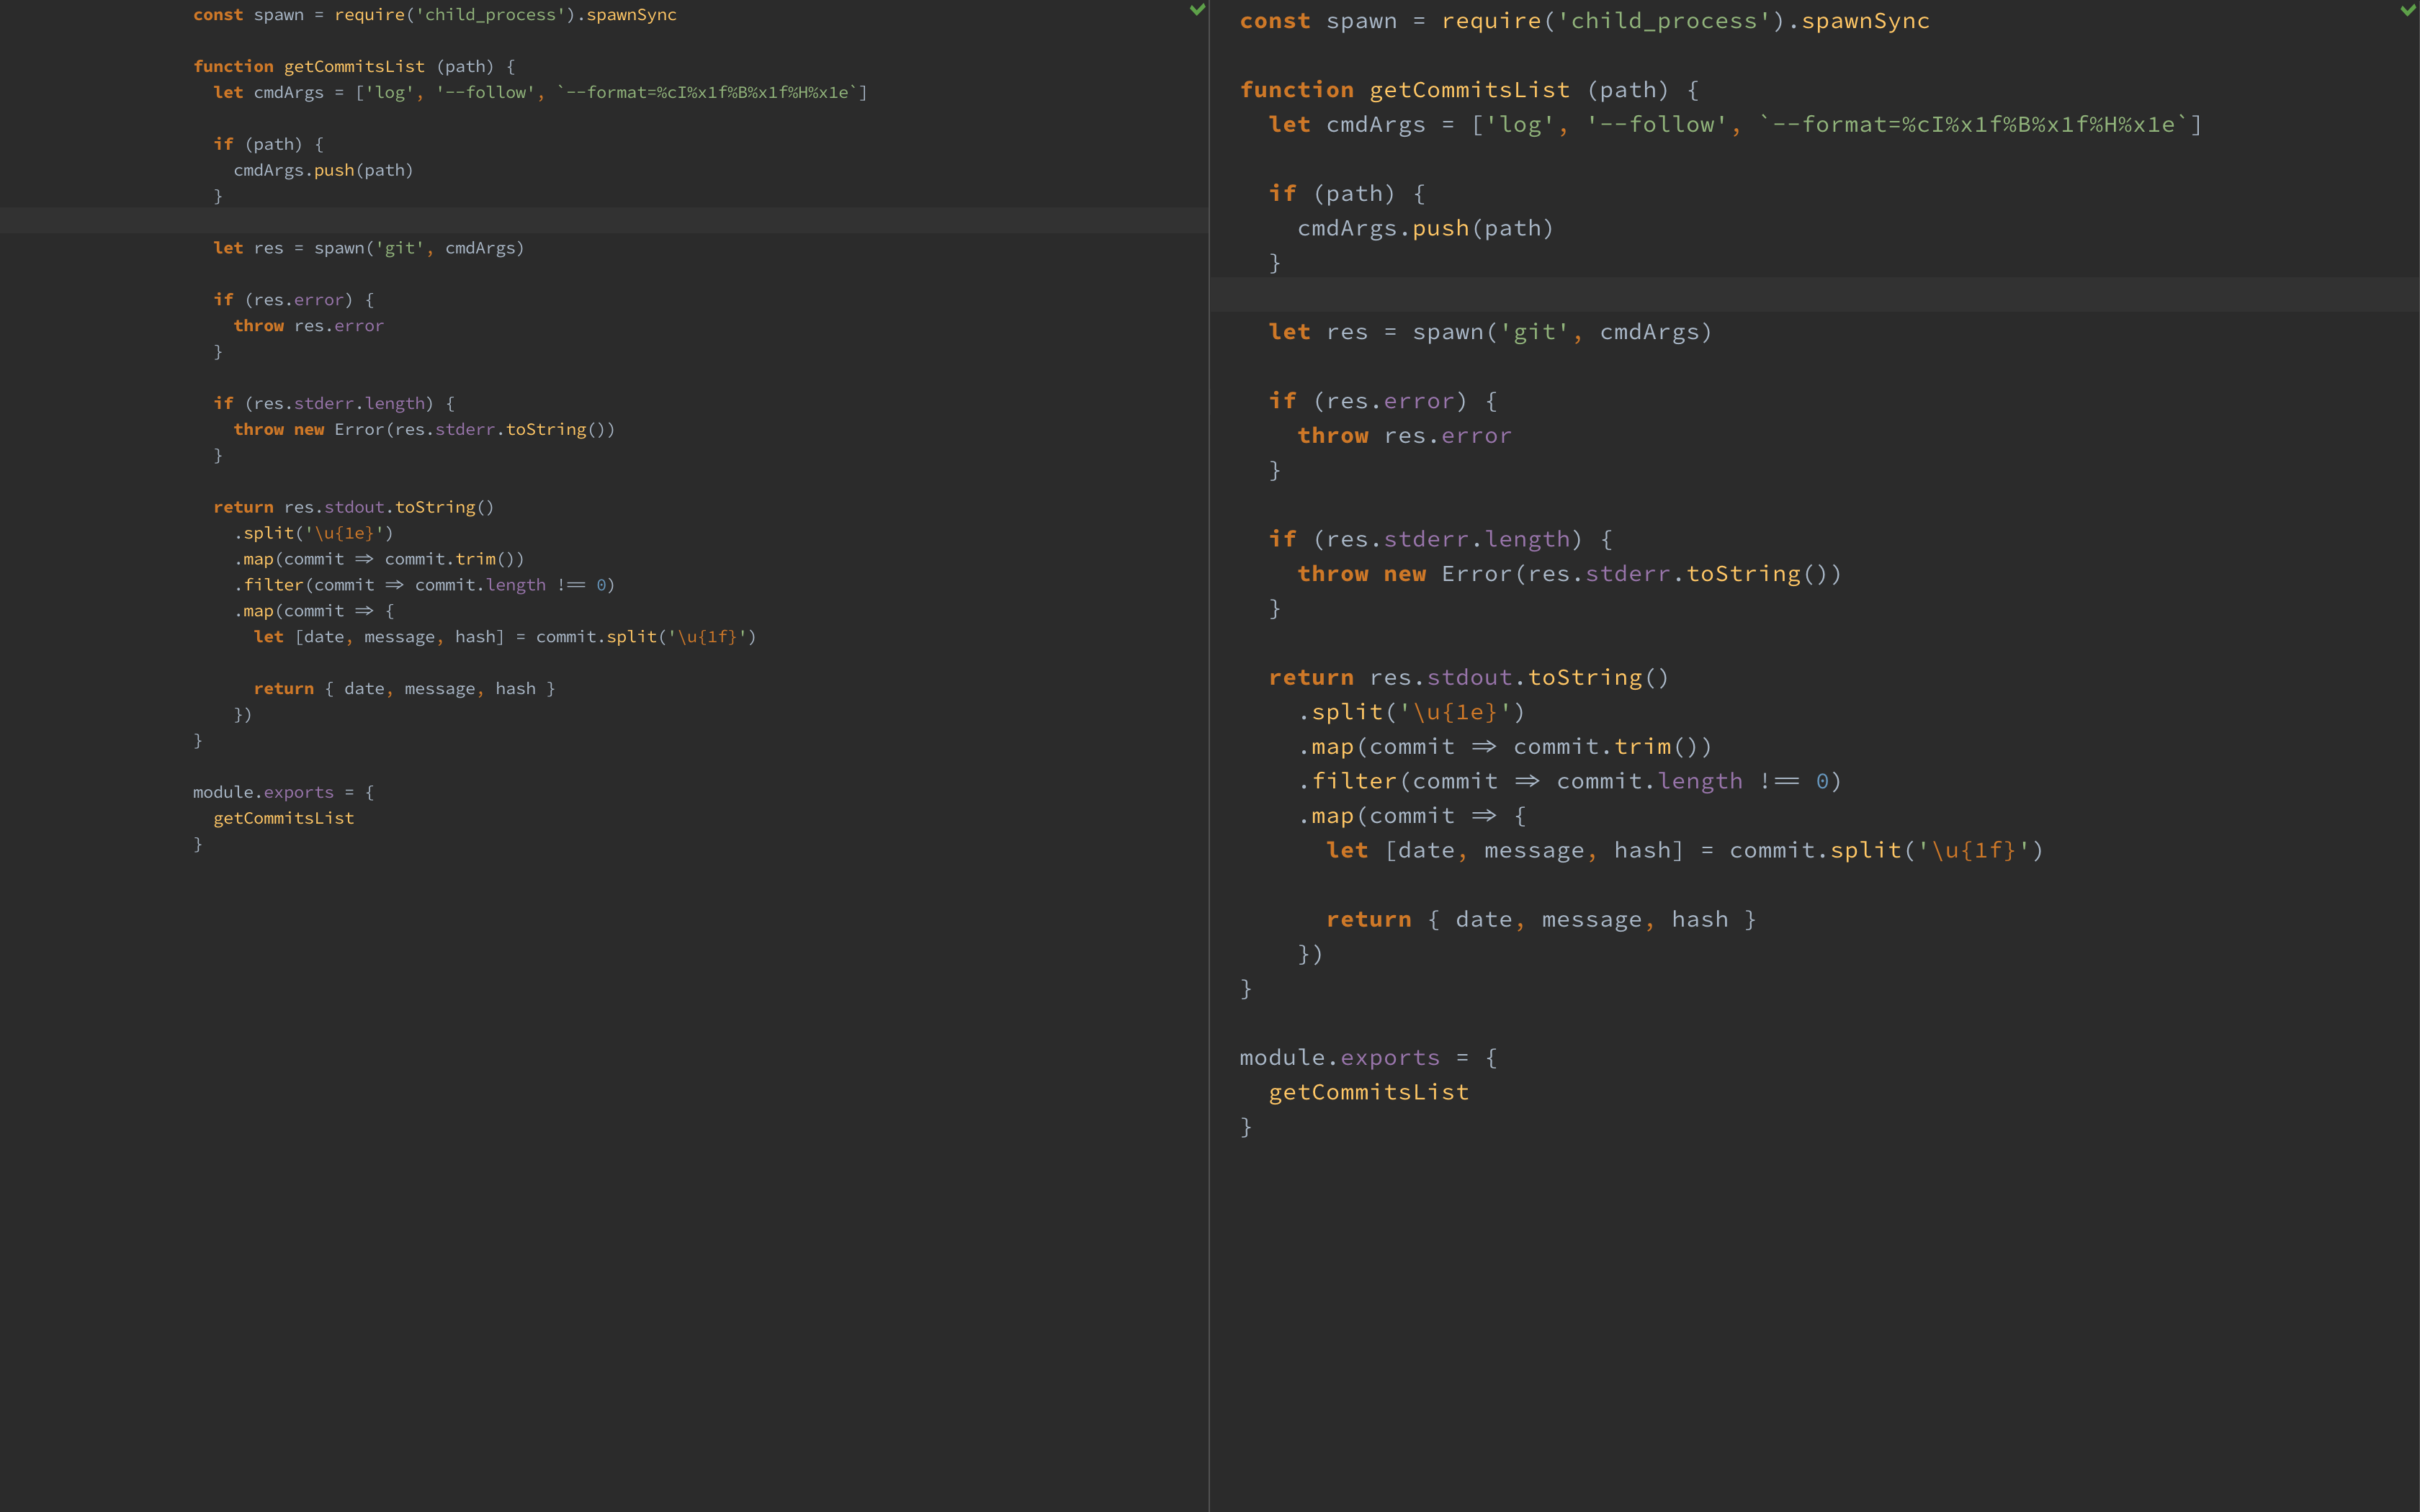
I've always been an advocate for smaller fonts. I thought the smaller the font, the more you code you can fit on your screen.
But after many years with that mindset, I've realized that I've started to get more and more headaches. Then, while watching programming streamers, I always saw them have bigger fonts. I immediately thought they do that because it's easier for the viewers to watch.
I got interested in the ideal programming font size question and went into research mode.
I found this article, which advocates for a bigger font size than what you usually have. So, just for some context, I always had my font somewhere between 11 and 13 pixels. Now I have it set to 16px, and my eye strain is gone.
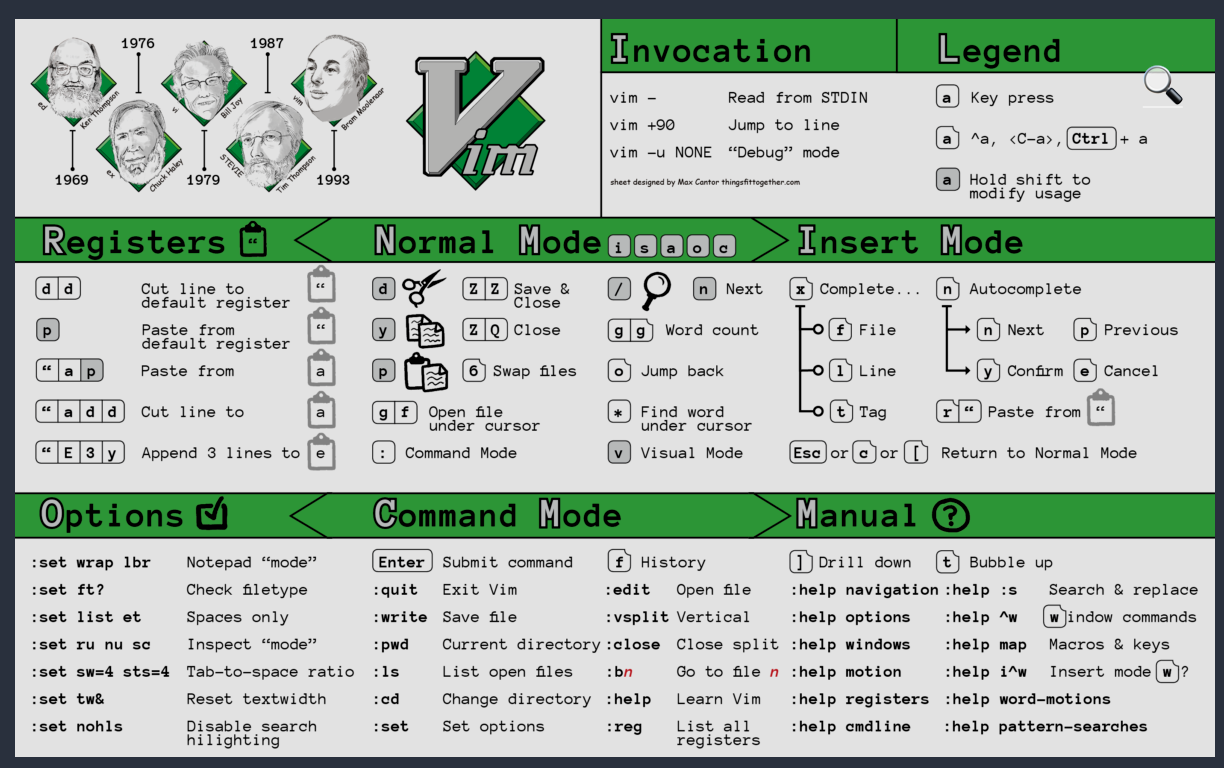
Lesson 3: Learn Vim motions first
Using Neovim is a choice.
Whether it improves your productivity or not is up to you. It's up to you to invest time in your developer environment. But I wholeheartedly believe that learning vim motions will significantly improve your productivity in the long run.
Even if you don't want to switch IDEs, install a Vim plugin and learn the motions. It's that much superior once you get the hang of it.
I did that, and I would suggest everyone do that, even if you're not planning on switching over completely.
If you're interested in switching over, I would suggest learning the motions first in your IDE and then switching to Neovim, as it would be challenging to navigate Neovim and learn Vim motions simultaneously.
Lesson 4: Learn things incrementally
When I first opened Neovim, I felt very underwhelmed. It's just an empty screen. So I went and installed a distribution and felt very overwhelmed.
I eventually tried a lot of different distributions, but none of them clicked for me. Until I decided to start from scratch and add things as needed. Surprisingly, you don't need a lot.
In the beginning, I just needed:
- A nice theme.
- A nice filetree.
- Tabs.
- LSP and completion.
I only added plugins when I needed them. This made the learning curve a lot easier for me.
I used the same strategy with Vim motions.
I first got comfortable with the basics: h j k l. Then I learned the others, one by one.
The ones that changed the game for me were:
fctrl-0 and ctrl-uctrl-d and ctrl-u- Relative jumping (ex.
5j) ctrl-6 or ctrl-^
Lesson 5: Keyboard shortcuts will always be faster than mouse movement
Once you get comfortable with Vim motions and the keyboard, you'll use your mouse less and less. You'll also be tempted to create different shortcuts.
For me, it was two things:
- Navigating spaces in MacOS.
- Navigating my browser.
For spaces, I set up shortcuts ctrl-X where X is the number of the specific space. So ctrl-1 goes to space number one.
This was a nice benefit because now I don't have to think about where my applications are. I instinctively know that:
ctrl-0is for my main browser.ctrl-9is for code, so it contains my terminal with Neovim and Tmux.ctrl-8is for Slackctrl-7is another browser window with stuff like YouTube or Spotify.
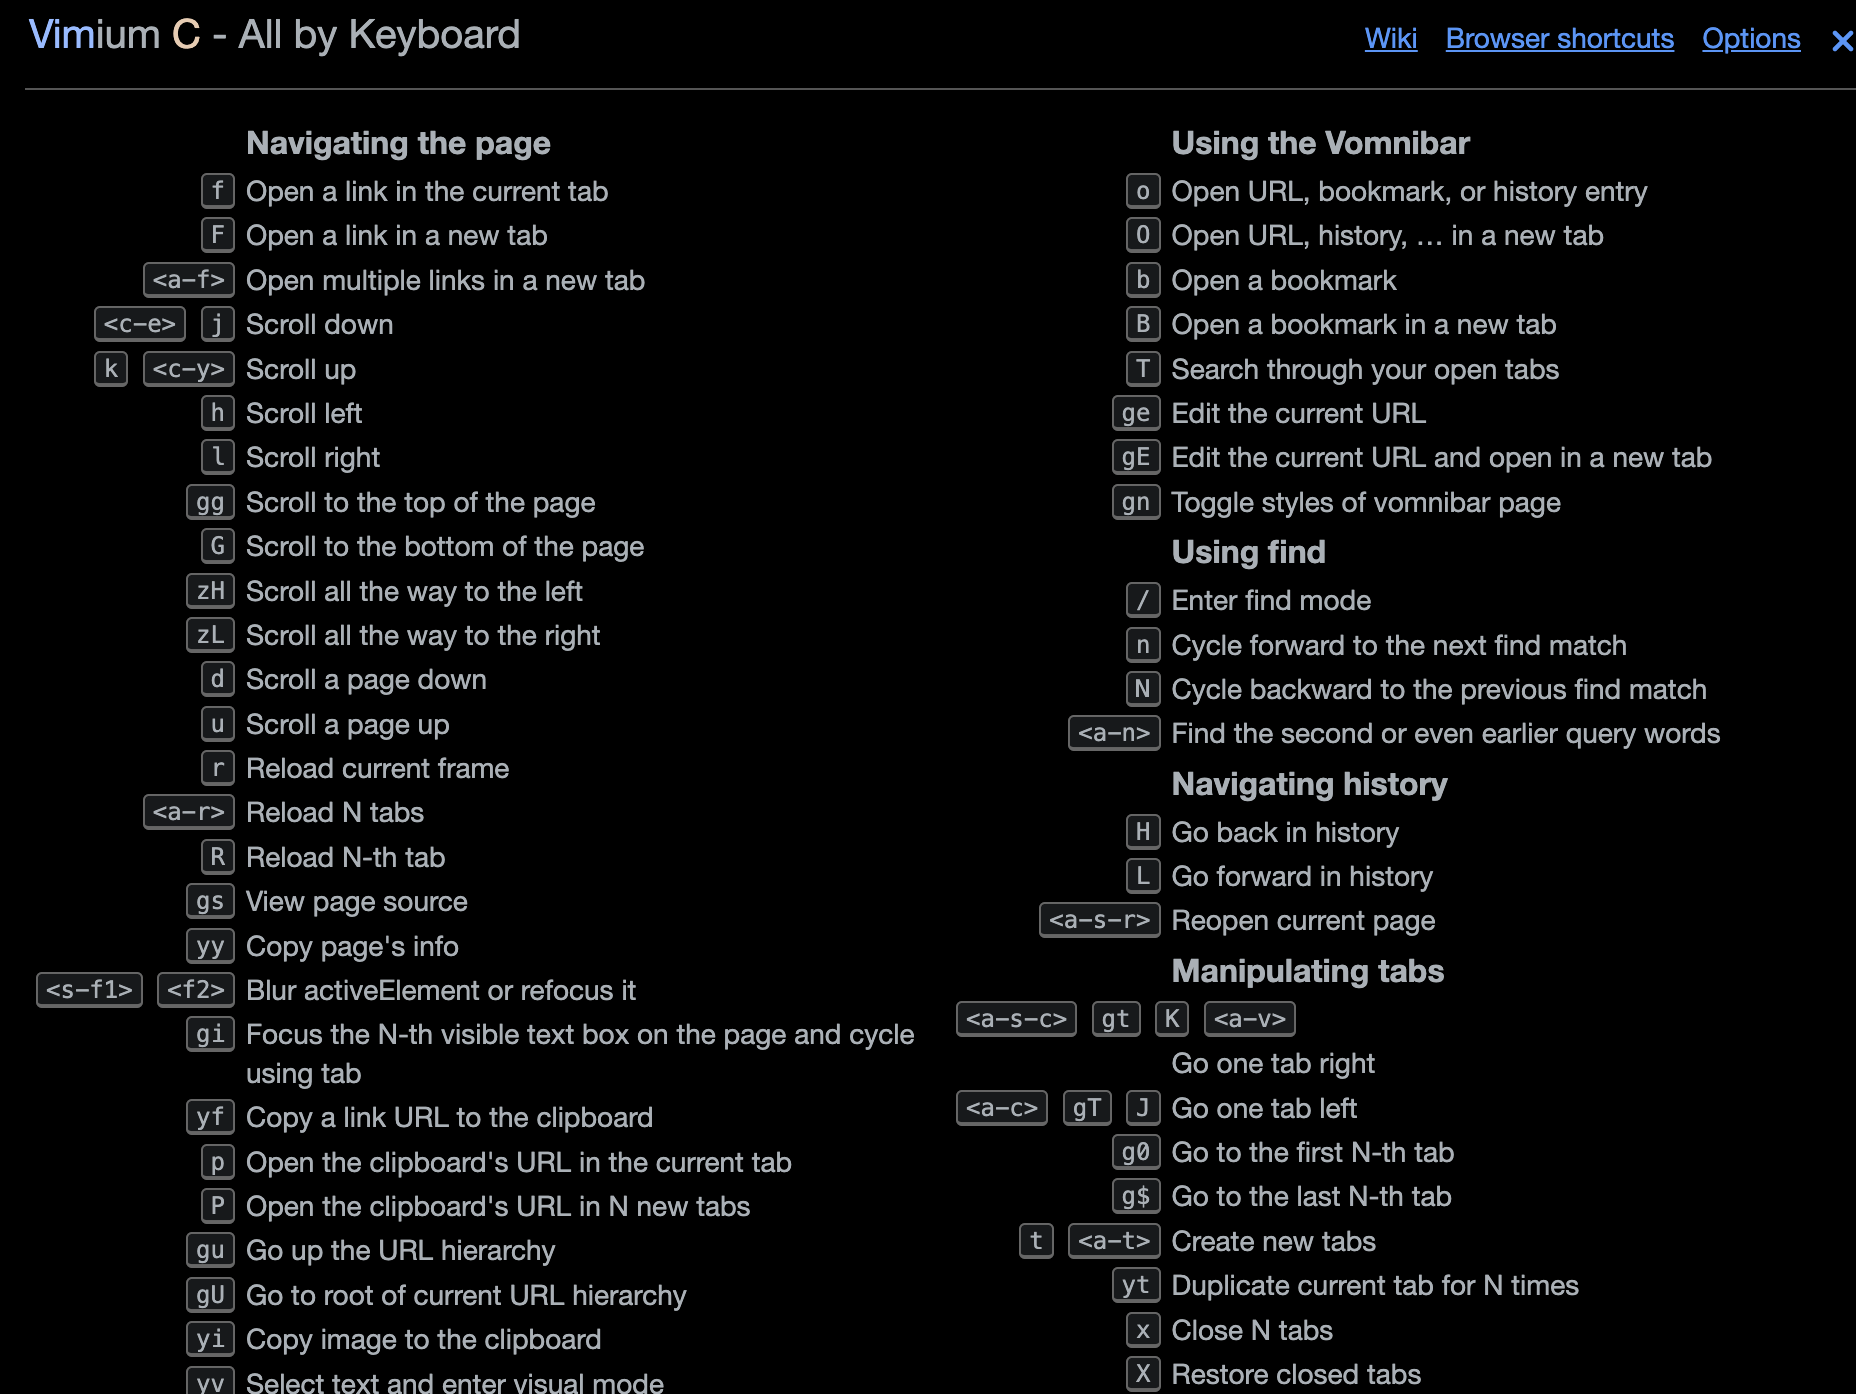
Next, I installed the Vimium C extension on my browser. It allows me to use Vim motions in my browser.
This helps me a lot because I work without external monitors, so I can easily switch between space zero (browser) and space nine (Neovim) without using my mousepad.
I like utilizing marks in the browser, as I have many tabs open, and sometimes I need to go back and forth between subsets of them.
Lesson 6: Use other tools that will enhance your Terminal Experience
Vim is only the beginning of your journey of mastering the terminal. So, I'd suggest using complementary tools and making the terminal your home.
I'm an advocate for a terminal window manager. The one I use is called tmux. It's pretty simple to use and is very configurable. You can install plugins for it, and it works well with Neovim.
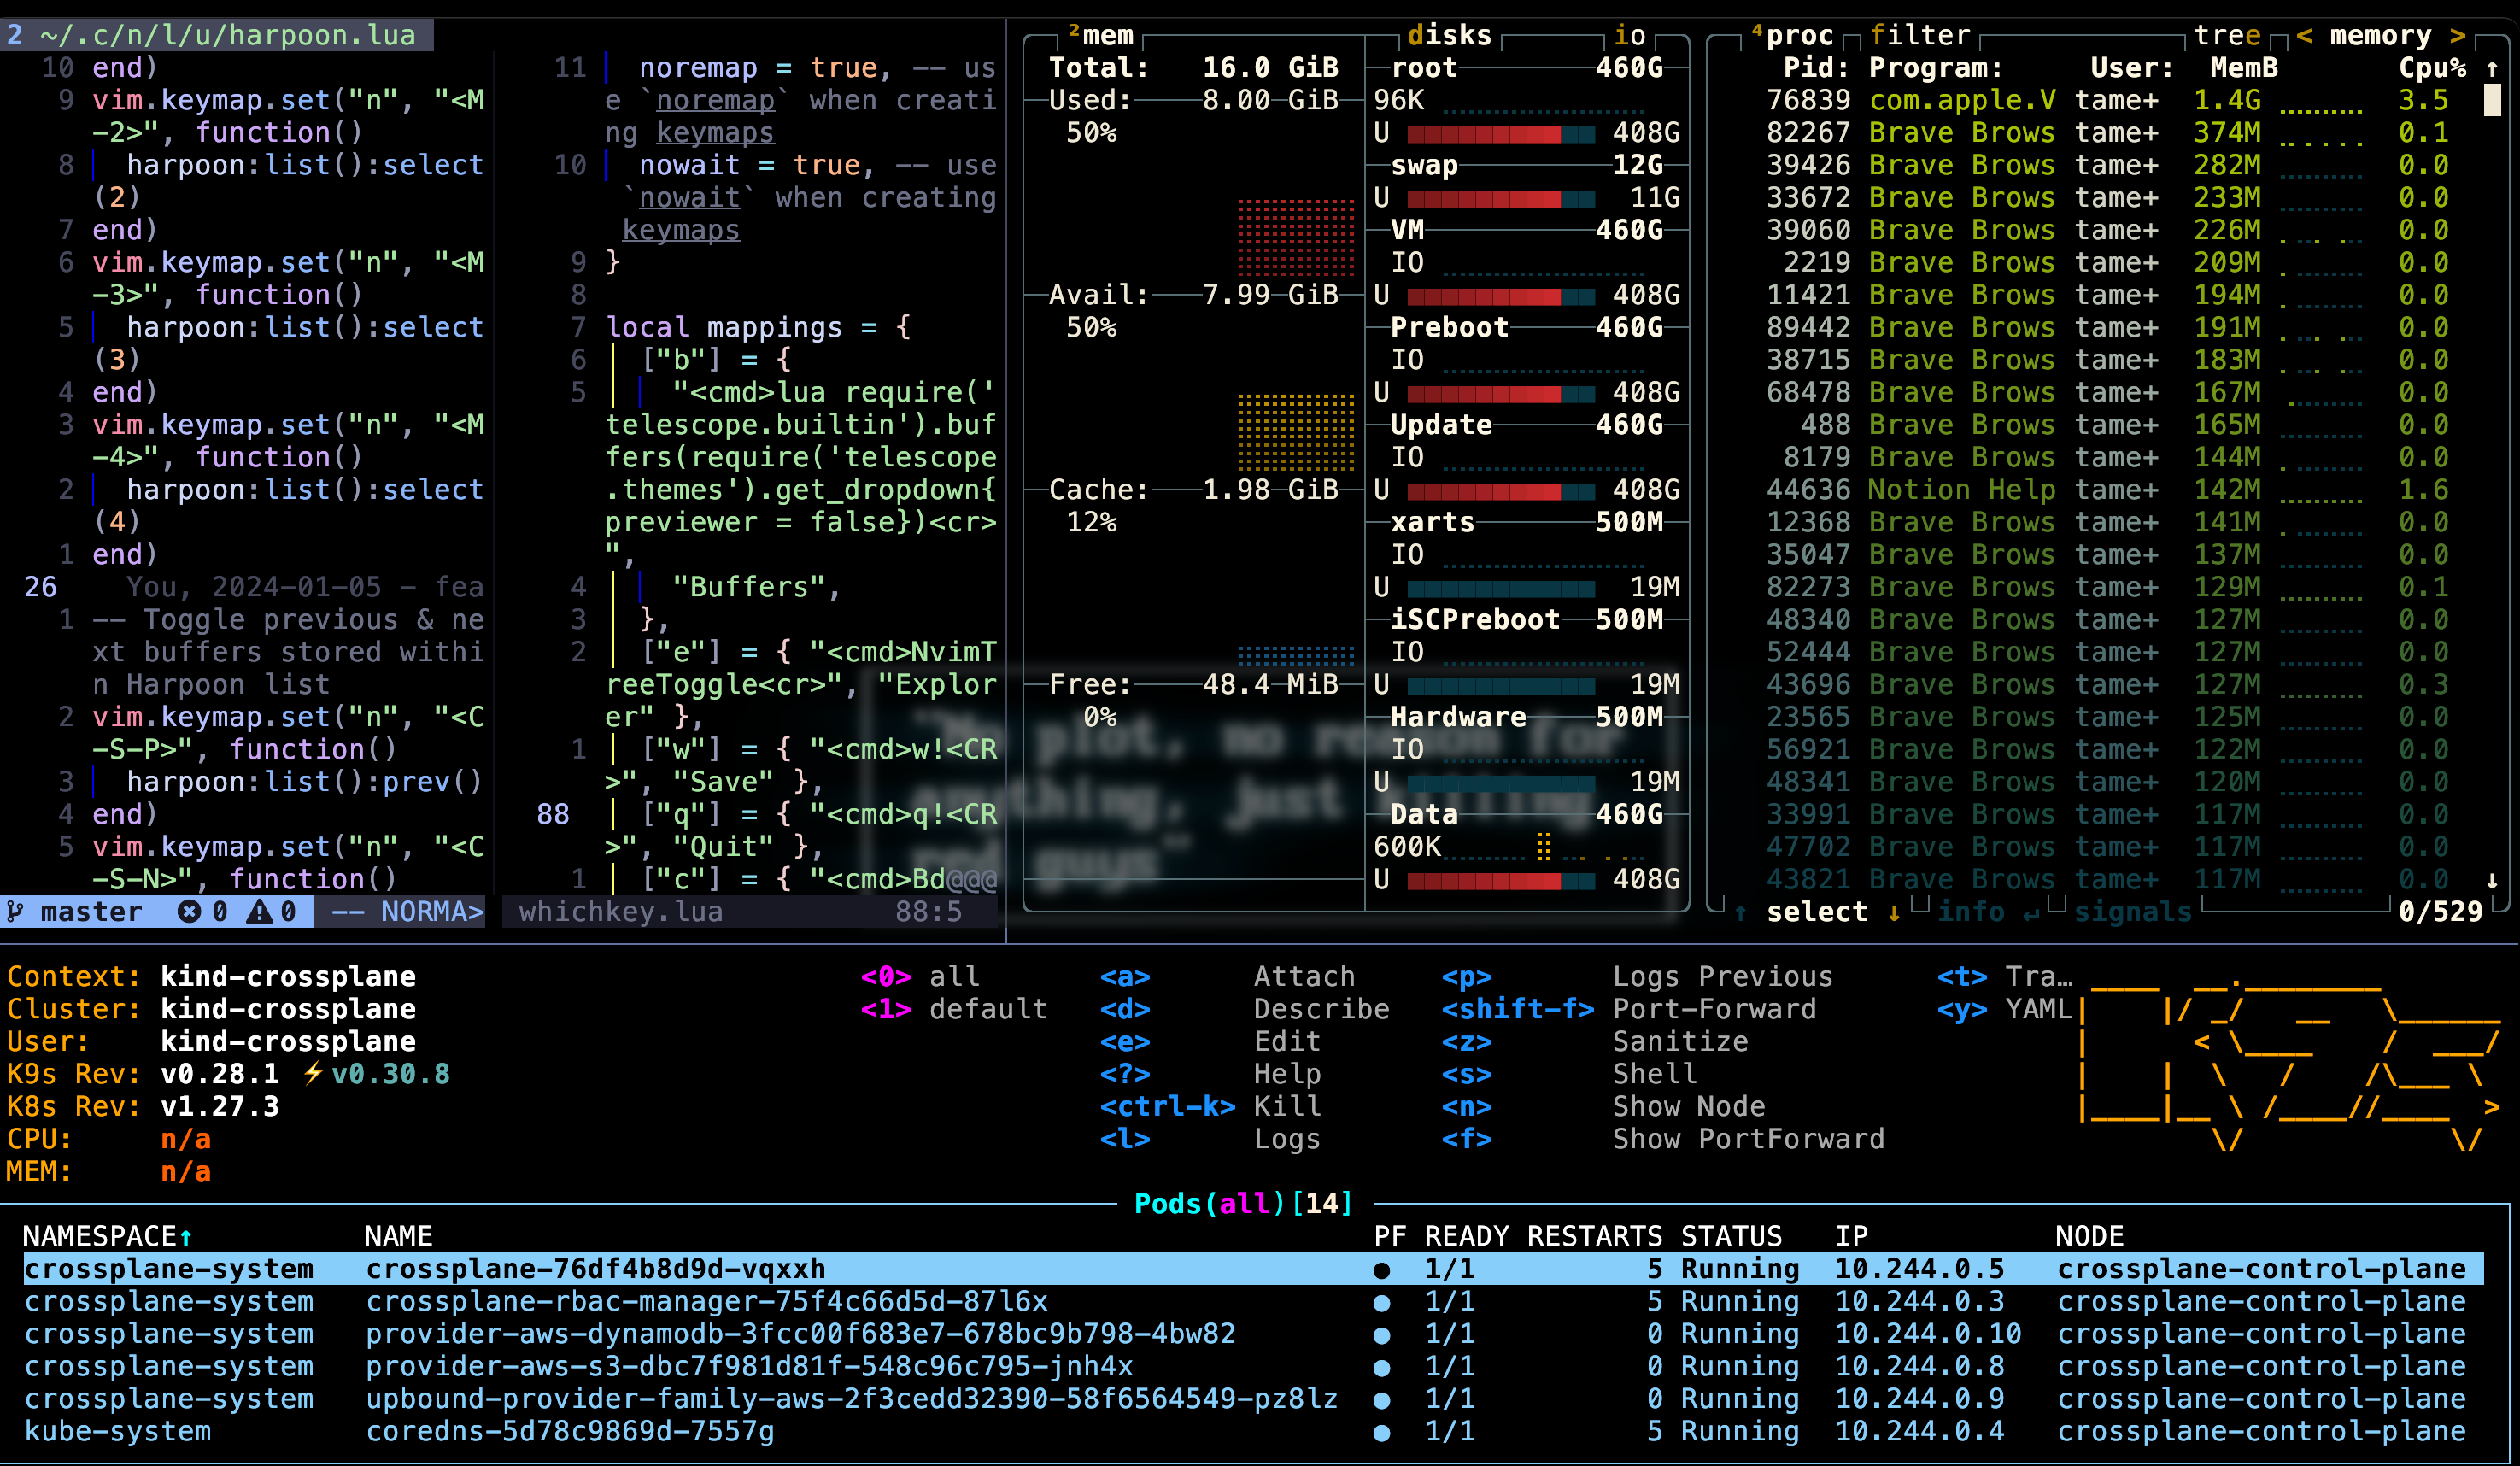
I also like using text-based user interfaces (TUIs) such as Btop, k9s, and spotify-tui.
I would also suggest learning useful Linux commands and others you can install, such as JQ.
Lesson 7: Settle down with your configuration
Once I got the hang of Neovim, I began going crazy. I would visit the r/neovim subreddit to find the best plugins, even if I didn't need them.
I've now realized this wasn't my best use of time.
Just pick what you need and try to keep your configuration somewhat stable.
Lesson 8: Having a consistent developer workflow is a superpower
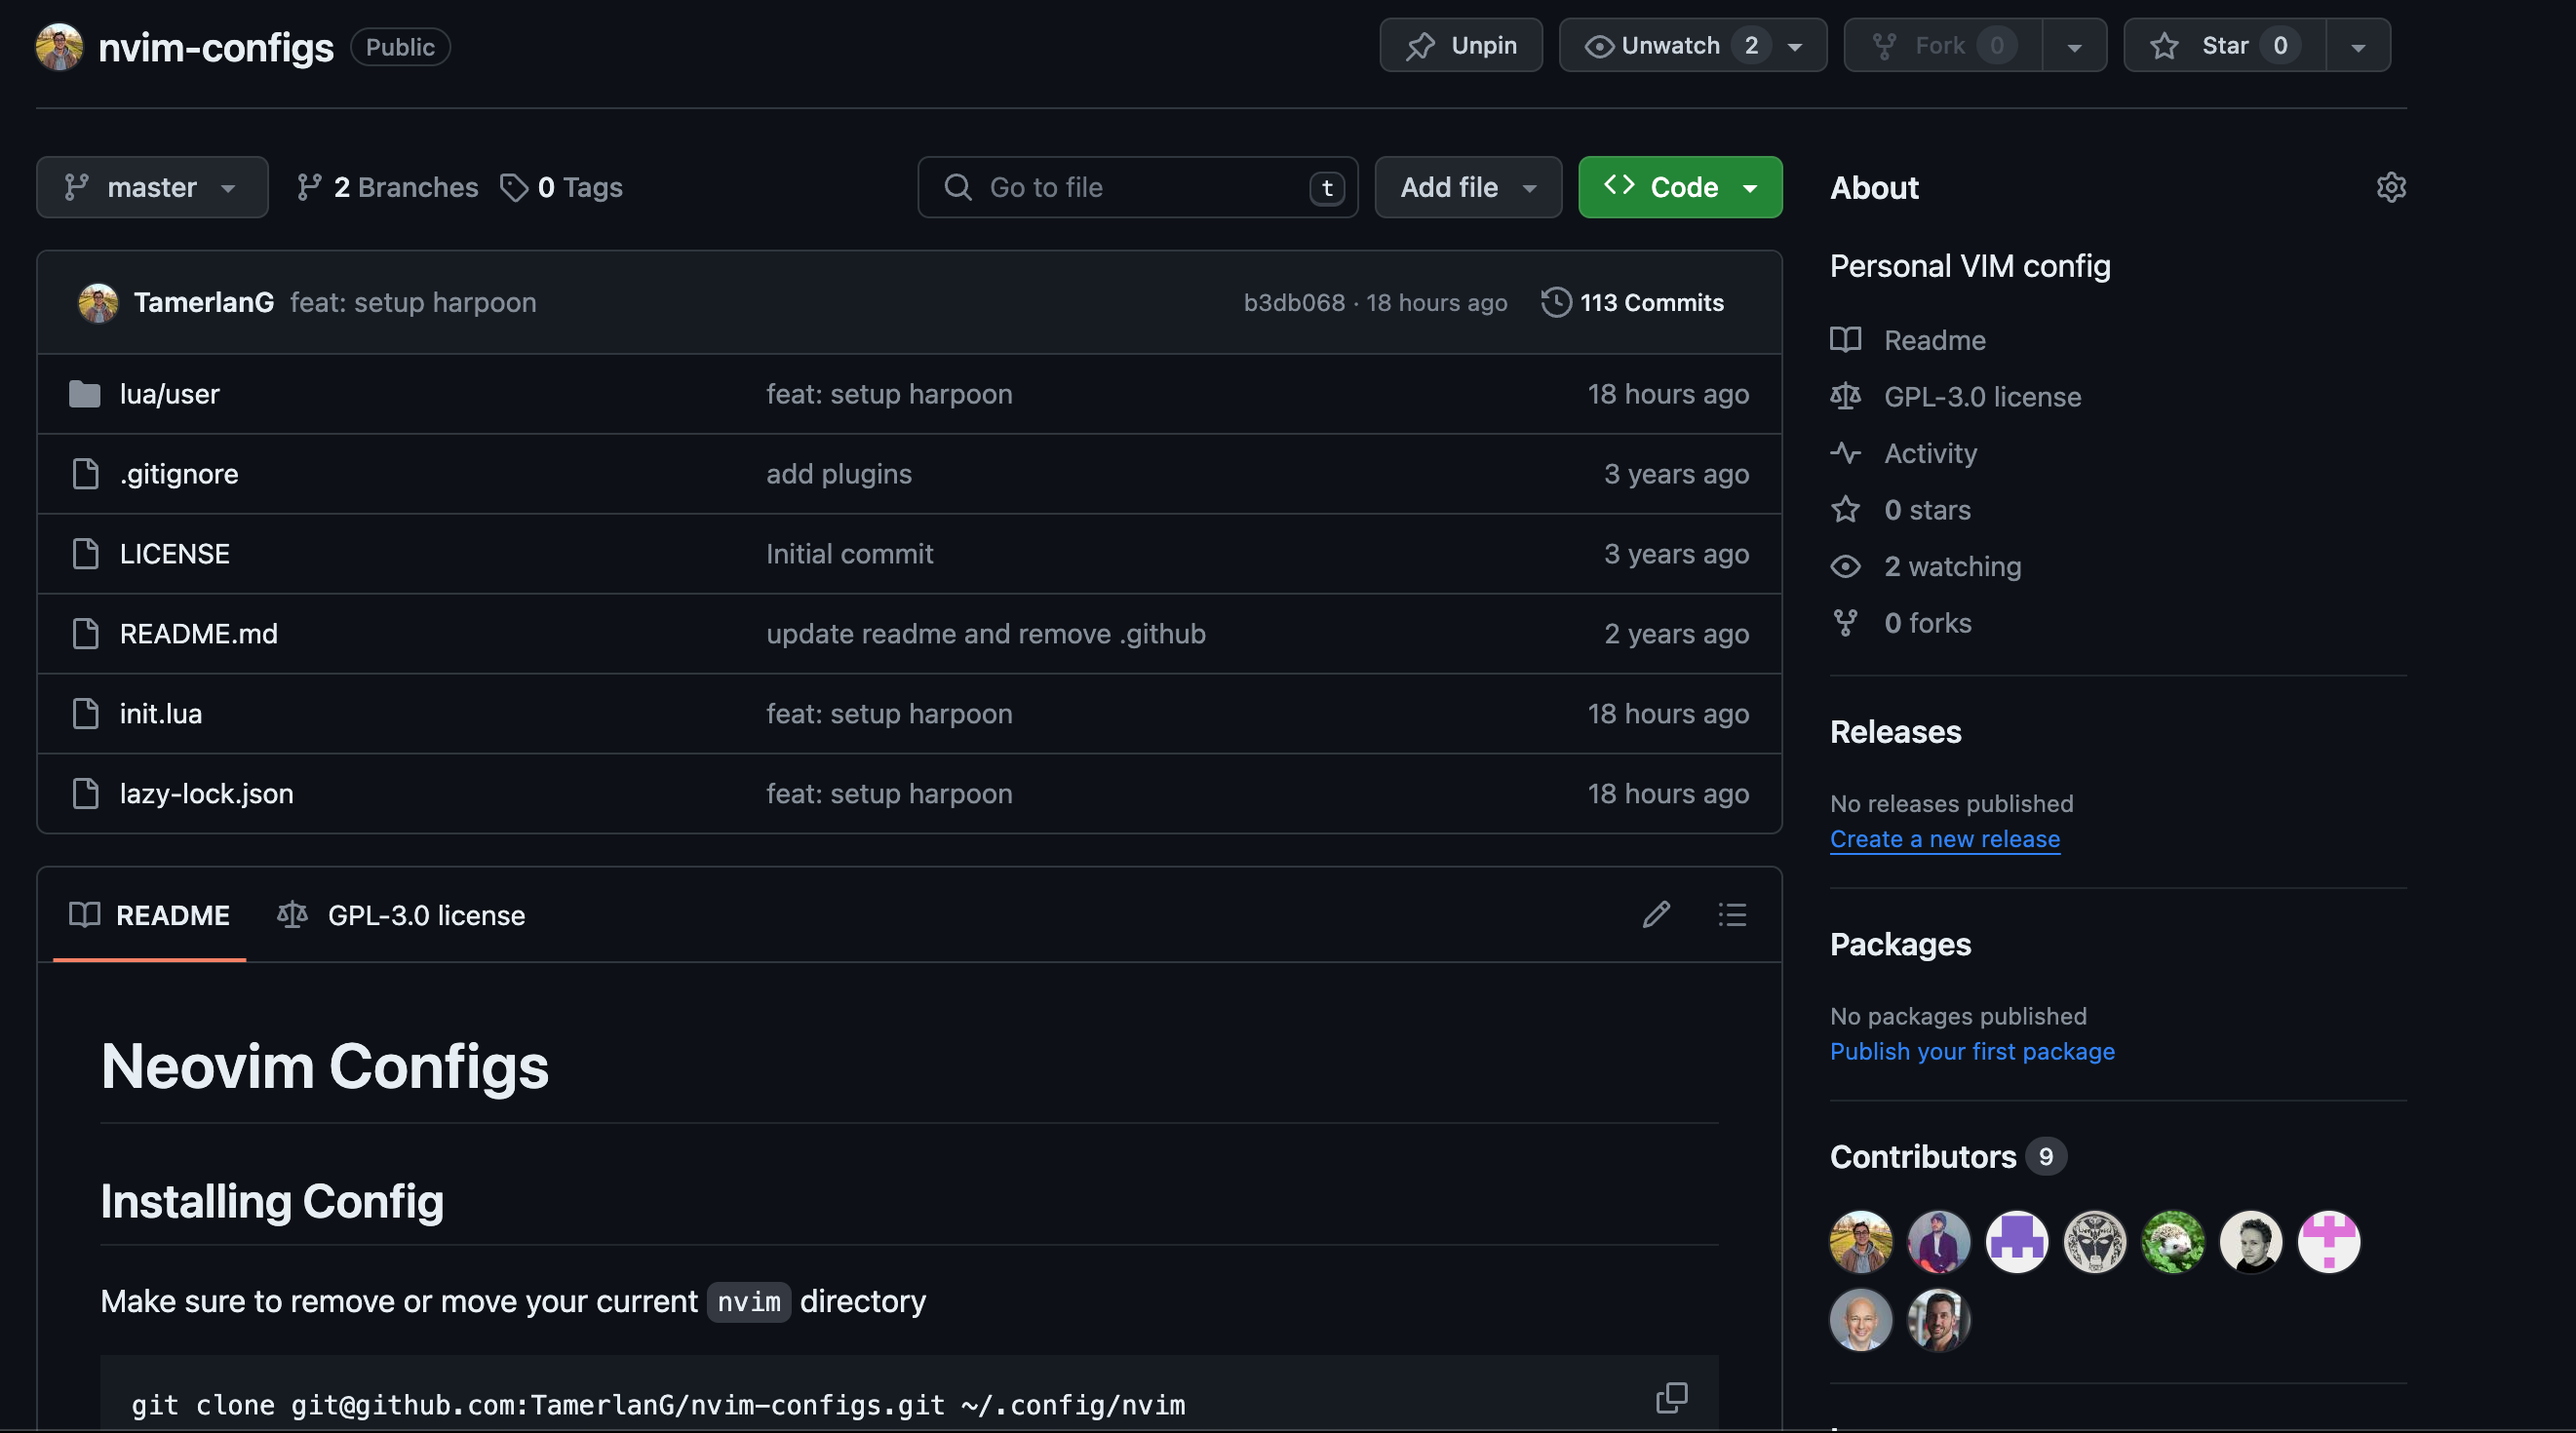
This is such an unexpected benefit that I've only realized after version controlling my configuration files. The result is that I have a consistent developer workflow no matter what machine I use.
I have two laptops, one for personal use and one for work. They both have the same developer workflows. The same shortcuts, and it's just a life safer not having to tinker around and have different configurations.
I'm considering taking this one step further with NixOS, where I can version control my whole operating system.
Bonus Lesson: Never Stop Learning
I've had so much fun tweaking and configuring things and just making things perfect for me. Nevertheless, I'm always open to new plugins, shortcuts, etc...
This applies not only to learning Vim but also to other things in life. I currently have a good grasp of Vim and Neovim. I can now move on to other exciting things.
Never stop learning, and thank you for reading.
Recommended Resources
If you're ever interested in learning Vim, then I would suggest the following resources:
- Primegeans Vim Fundamentals – An excellent course that teaches you the fundamentals of Vim
- Kickstart – The best starting point for Neovim, in my opinion.
- r/neovim – This is a friendly community of Neovim users. You can learn a lot by just lurking there.
No spam, no sharing to third party. Only you and me.
Member discussion