Simplify Kubernetes Manifests using Kustomize
Writing Kubernetes manifests can be a huge bore.
You have so much stuff to write, and there's a lot of duplication.
You wish there were a better way – I'm here to save you, my friend. There are tools that make writing manifests easier.
The tool I'll talk about today is called Kustomize.
To learn it, we will migrate a native Kubernetes configuration to a much more DRY configuration using Kustomize.
PS. You can either follow along or clone the repository here.
Installing Kustomize
If you already have Kubectl installed, you should already have Kustomize built in.
To use it, simply run the following command:
kubectl kustomize --helpBut from my experience, there are some commands that are only available if you install the latest version of Kustomize directly onto your system.
If you're on Mac, you can install it with homebrew:
brew install kustomizeIf you're not on Mac, check the installation guide here.
To make sure that kustomize is installed, run the following command:
kustomize version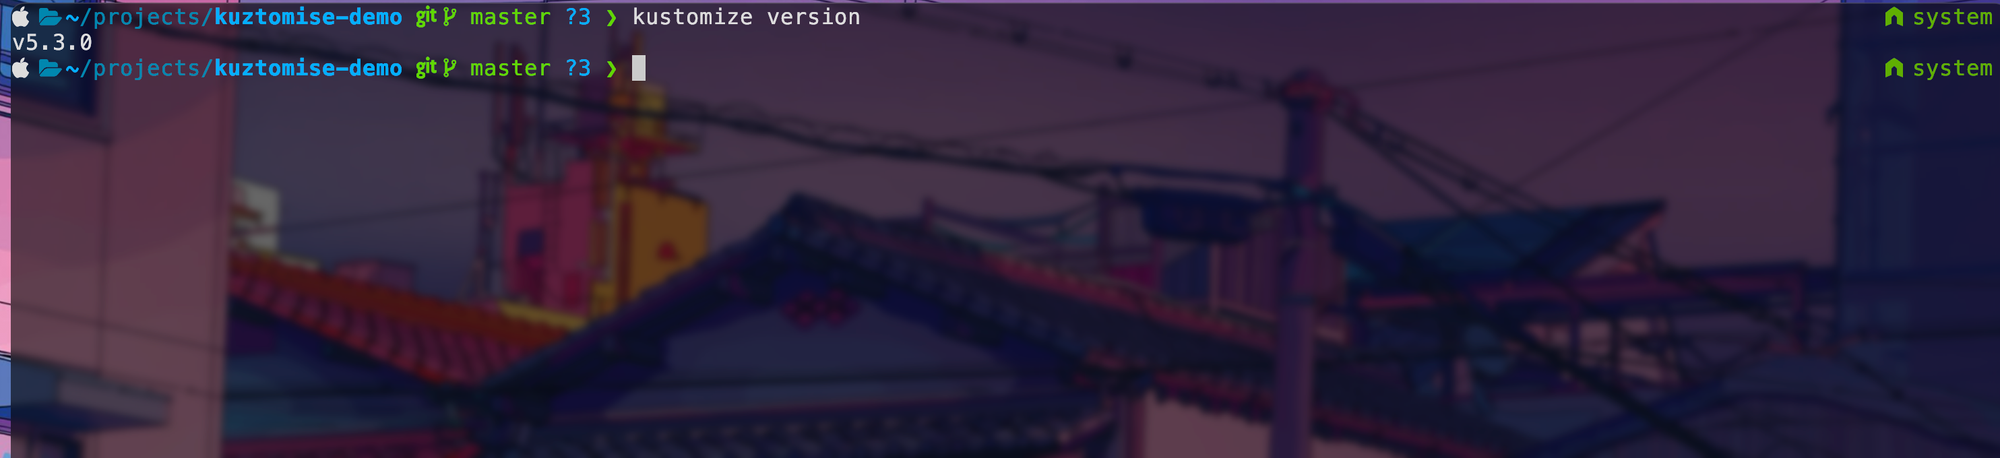
Let's use it in action
I have a basic deployment file for my application. The only thing special is that it takes in an environment variable named ENVIRONMENT which can either be dev, qa, or prod.
apiVersion: apps/v1
kind: Deployment
metadata:
  name: myapp
labels:
  app: myapp
spec:
  selector:
    matchLabels:
      app: myapp
  template:
    metadata:
      labels:
        app: myapp
    spec:
      containers:
      - name: server
        image: myapp:0.0.1
        ports:
        - containerPort: 8080
        env:
        - name: ENVIRONMENT
          value: "my env"
        resources:
          requests:
            cpu: 100m
            memory: 64Mi
          limits:
            cpu: 200m
            memory: 128Mi
This works all fine and dandy, but if I have multiple environments, then I would be forced to create three different deployment files named:
dev-deployment.yamlqa-deployment.yamlprod-deployment.yaml
The only thing different in these files is our environment variable.
Let's use Kustomize to help us.
Let's first create a folder named base and move our deployment file there. This is where our base configurations will lie.
mkdir base
mv deployment.yaml base/
Inside our base folder, let's create a folder named kustomization.yaml
touch base/kustomization.yamlThe kustomization file will reference our base Kubernetes manifests and add whatever customizations we want.
In the base/kustomization.yaml add the following:
resources:
- deployment.yaml

commonLabels:
  app: myapp
Here, I've told kustomize that I have a single resource called deployment.yaml and I want you to add this common label to all my resources.
Now, in my deployment.yaml, I can remove the labels:
apiVersion: apps/v1
kind: Deployment
metadata:
  name: myapp
spec:
  template:
    spec:
      containers:
      - name: server
        image: myapp:0.0.1
        ports:
        - containerPort: 8080
        env:
        - name: ENVIRONMENT
          value: "dev"
        resources:
          requests:
            cpu: 100m
            memory: 64Mi
          limits:
            cpu: 200m
            memory: 128Mi
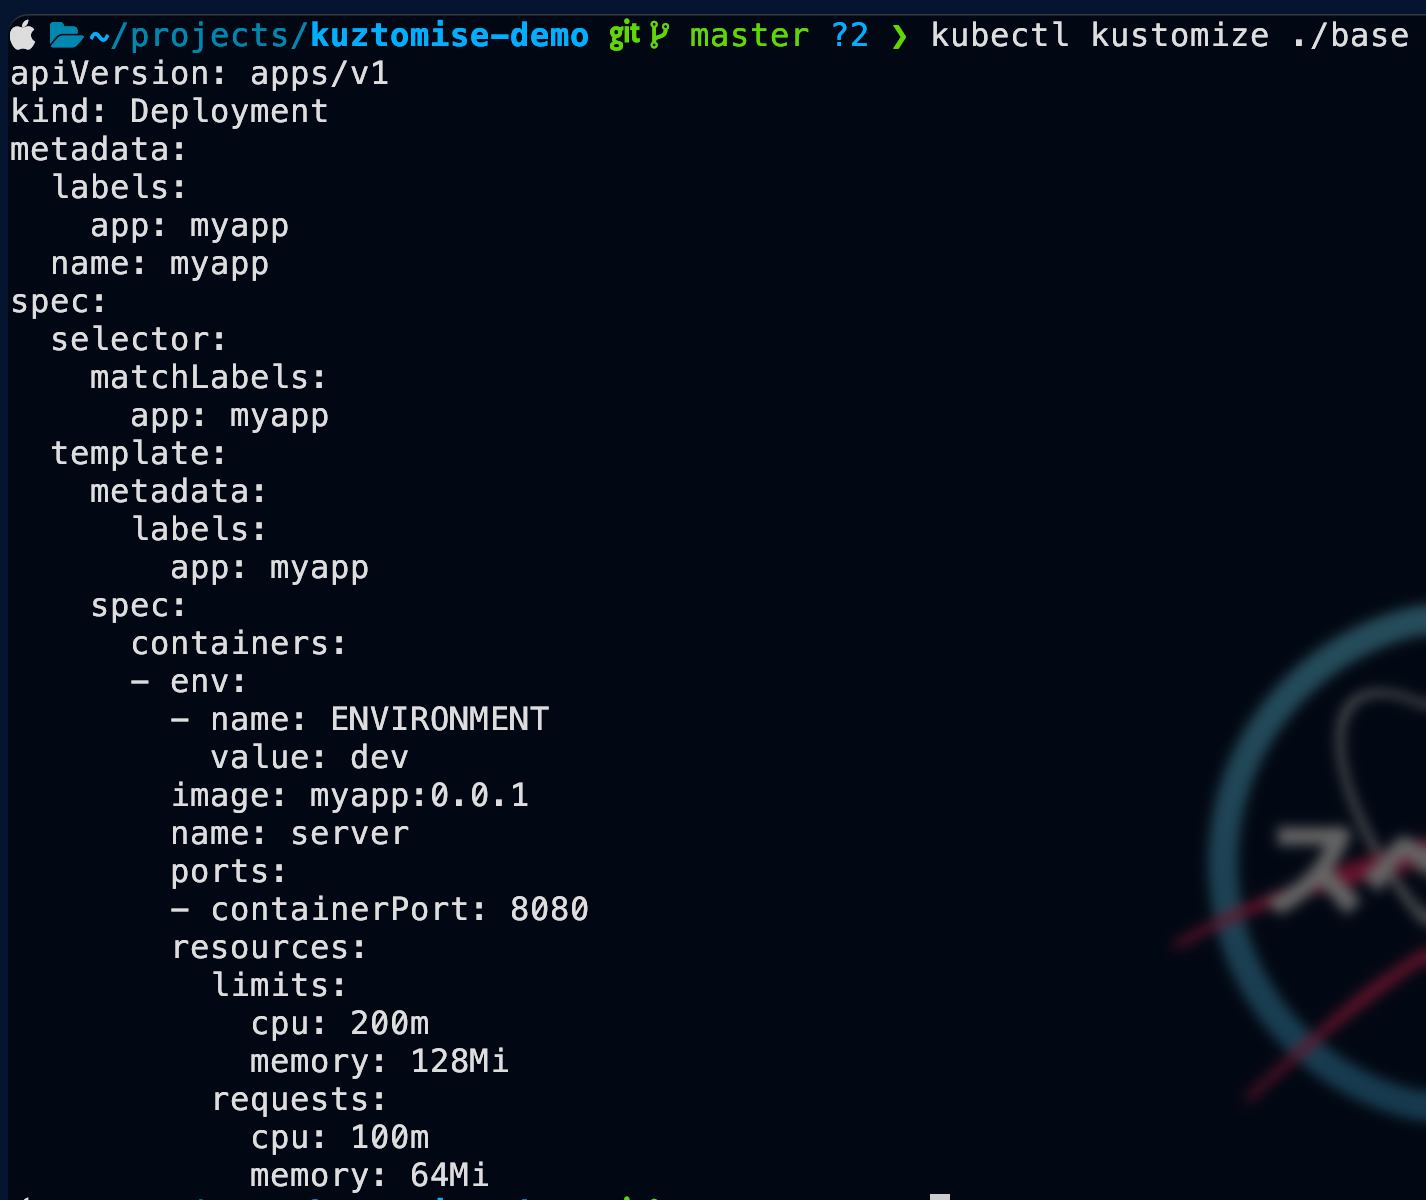
Okay, how do you check that this works and populates the labels?
Simple, use the kustomize command:
kubectl kustomize ./base ## or kustomize build ./base
Great, we got that working, but we still got one important question...
How do we handle multiple environments?
Good question, and it's very easy to do with kustomize.
Let's first create a folder named overlays.
mkdir overlays Inside overlays, we will create a folder for each of our environments.
mkdir overlays/dev
mkdir overlays/qa
mkdir overlays/prod
The process is the same for all three environments, so let's focus on the dev environment for now.
You first need a kustomization.yaml file in the dev folder.
touch overlays/dev/kustomization.yamlAdd the following to the kustomization.yaml:
resources:
  - "../../base"

patches:
  - target:
      group: apps
      version: v1
      kind: Deployment
      name: myapp
    path: deployment_patch.yaml
Kustomize needs to know what we use as a base template, so I added the resources property that references the base folder we created a while back.
The second part is where I replace my ENVIRONMENT variable with one that is more appropriate.
The patches property accepts an array of patches, and you would most likely have one for every resource you want to patch.
As I only have the deployment resource, I only have one patch.
To specify the patch, I must first specify the target (which resource we want to patch) and the file where my patches are specified.
I like to keep things organized and in different files, so I created a file named development_patch.yaml with the following:
- op: replace
  path: /spec/template/spec/containers/0/env/0/value
  value: dev
This should be pretty self-explanatory; we are using the replace command, pointing it to our env, and then declaring the value we want; in our case, it's dev.
Let's test it out – Run the following command:
kubectl kustomize overlays/dev 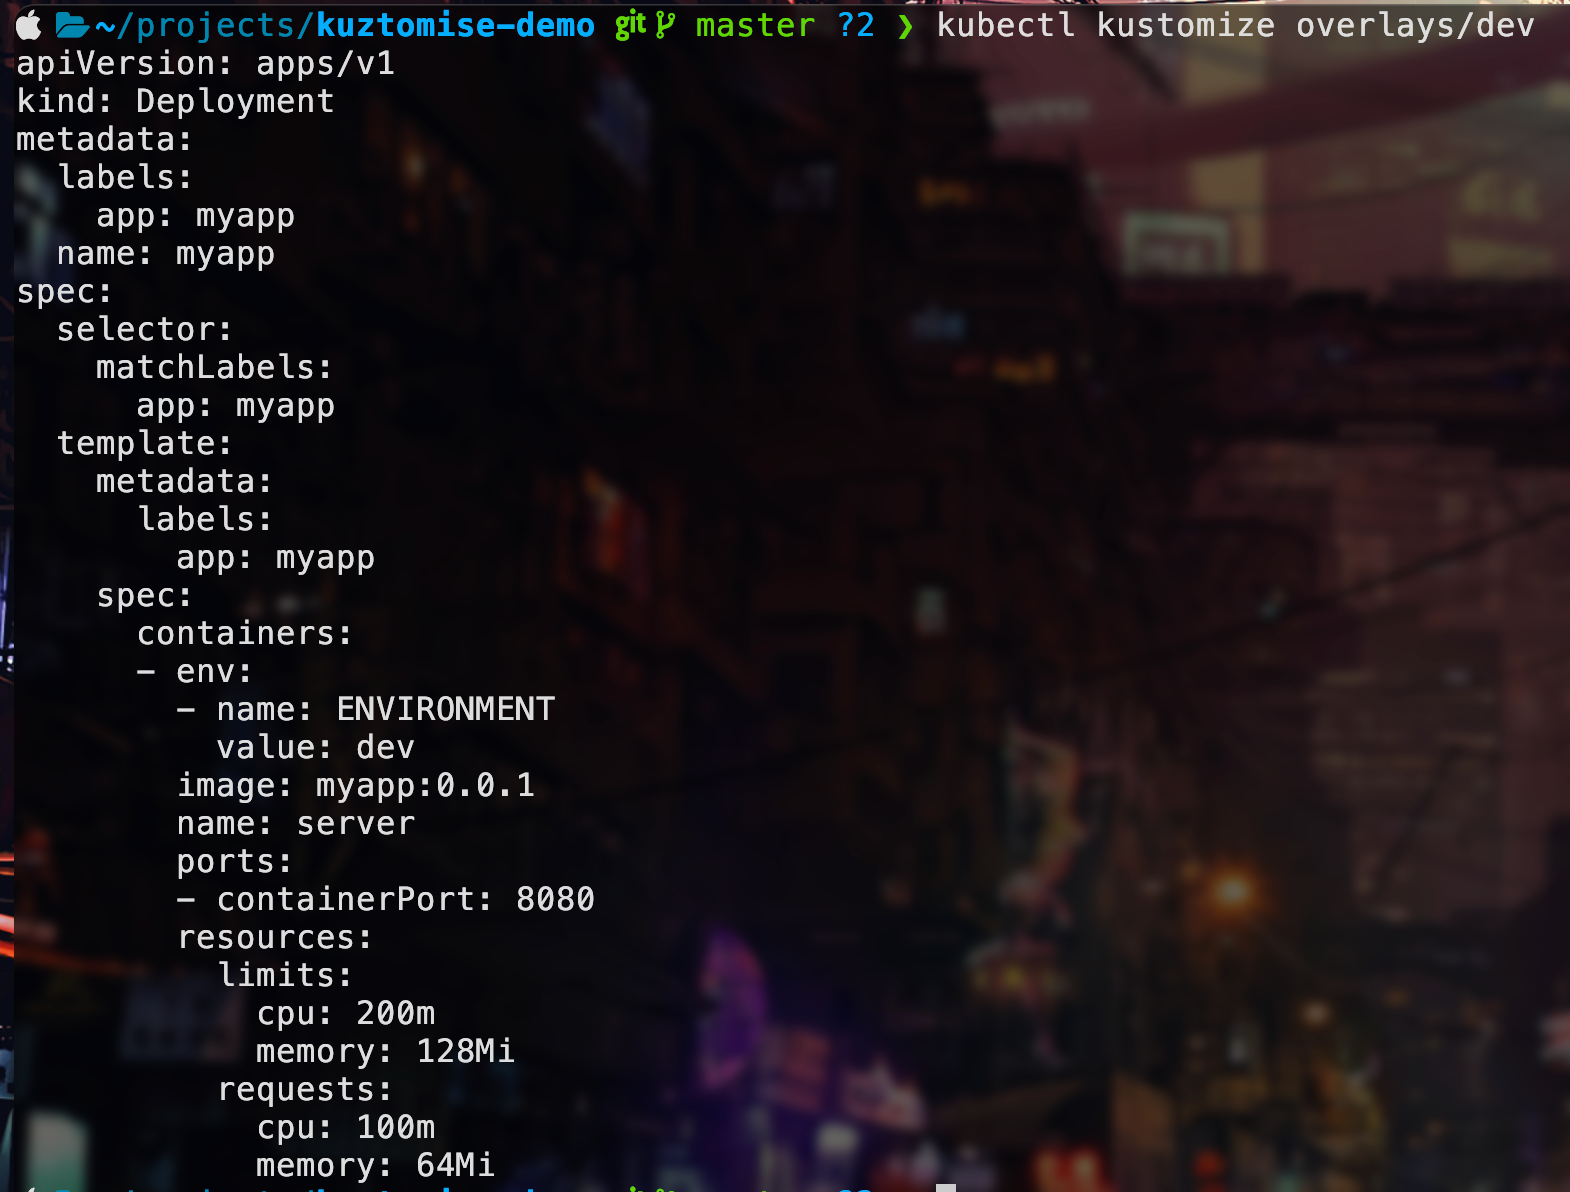
It works; with just a few lines of code, we have patched our deployment files to fit our development use case.
But wait, I just forgot that I only use version 0.0.2 in my development version. How do I change that?
If you were thinking of doing the same replacement action, you are not wrong, but Kustomize has a built-in feature to manipulate images.
In our kustomization.yaml add the following:
resources:
  - "../../base"

images:
  - name: myapp
    newName: myapp
    newTag: 0.0.2

patches:
  - target:
      group: apps
      version: v1
      kind: Deployment
      name: myapp
    path: deployment_patch.yaml
The images property allows us to manipulate the images we have in our base templates. I've just specified that I want the image named myapp to keep the same name but a different tag of 0.0.2.
If I run kubectl kustomize overlays/dev now, I should see the following:
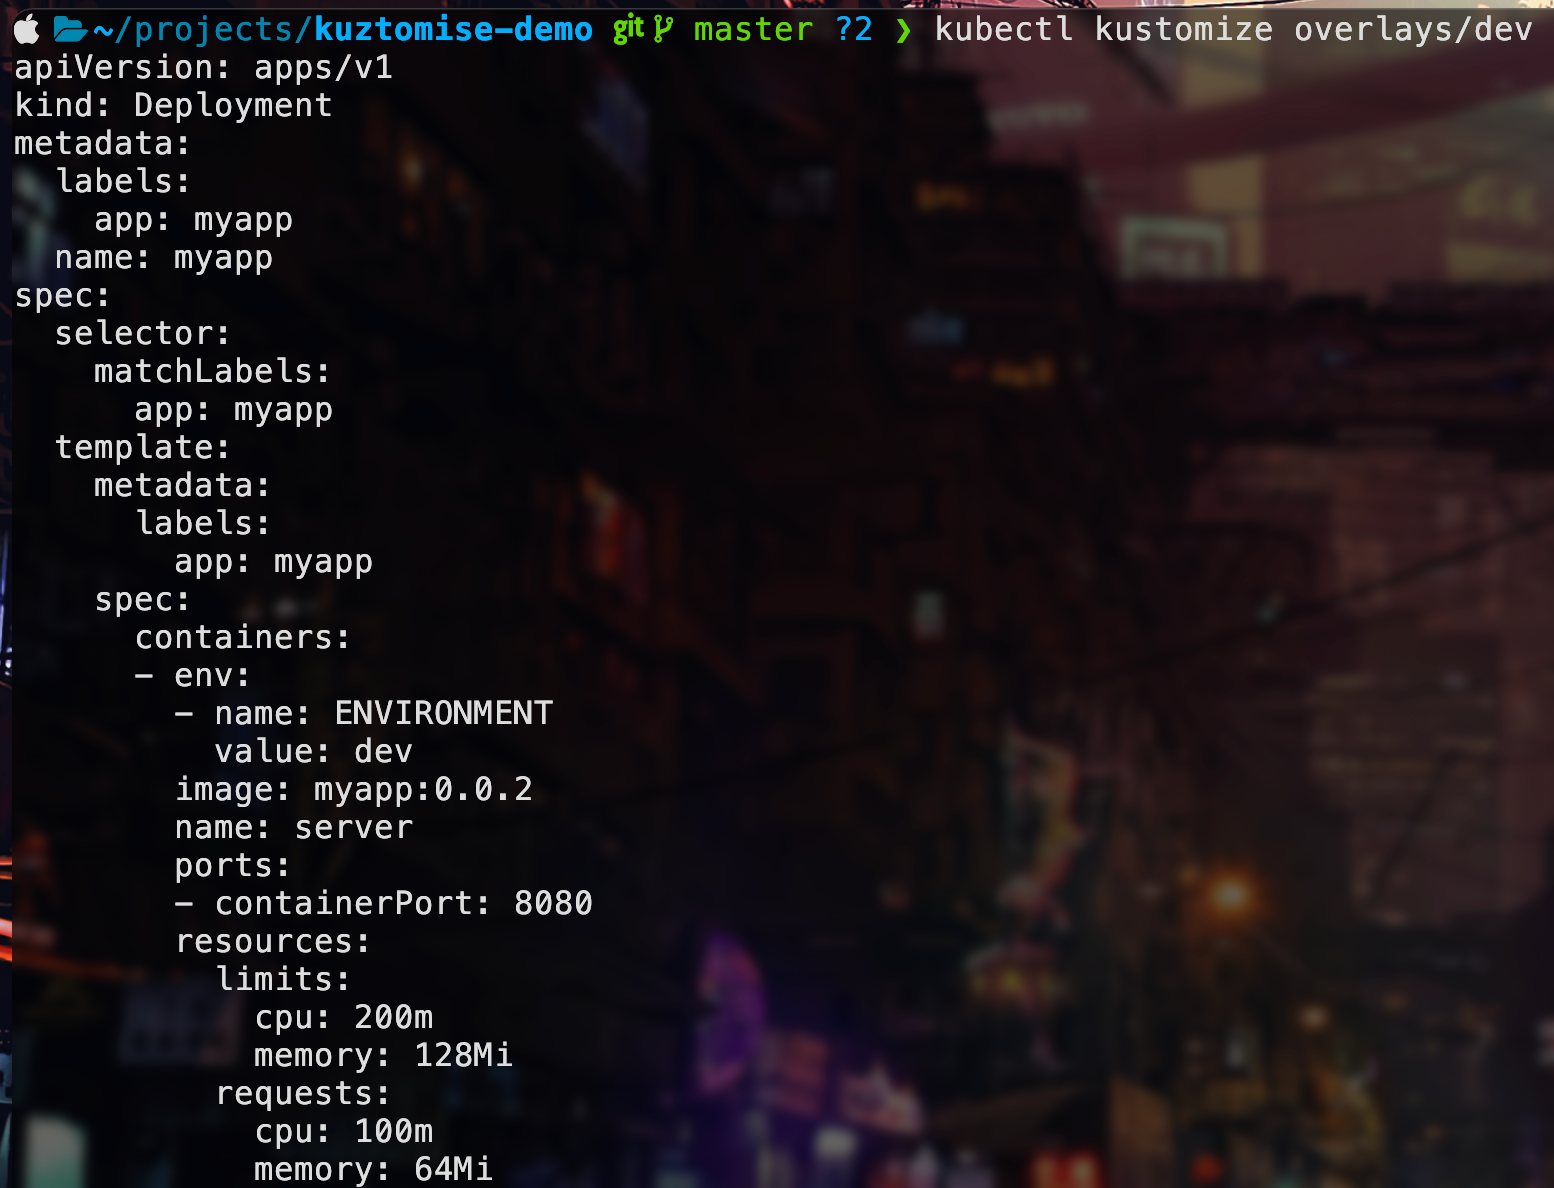
Great, this works, and to actually apply it to our cluster, we can run the following command:
kubectl apply -k overlays/dev
Conclusion
All that's left is to repeat the same process for the other two environments.
I suggest checking out the documentation here if you want to learn more.
Thanks for reading.
No spam, no sharing to third party. Only you and me.
Member discussion