Working Effectively with Legacy Code: Chapter 6 Summary

You might ask me?
Is doing all this additional work worth it?
Do I need to test all my code?
Do I need to break all these dependencies?
You might be wondering whether it’s worth doing these things right now.
The truth is, the work that you do to break dependencies and write tests for your changes is going to take some time, but in most cases, you are going to end up saving time and a lot of frustration.
When?

Well, it depends on the project.
For example, you have a change that takes 15 minutes to make but you need tests around it so you spend an additional two hours adding them. If you look back, you might say, "I just wasted two hours – was it worth it?"
It depends.
You don't know how long will this change take without the tests, nor you will know how long will it take you to debug if you made a mistake. All this time could've been saved if you have written tests.
But let's assume the worst case. The change was simple and we got no errors. Did we just waste two hours writing tests?
We don't know till you come back and make another change. In the best case, you come back to the code in the next iteration and start to benefit from your investments. In the worst case, it will be years before you come back to that piece of code. But chances are that you will read the code periodically to find out whether we need to make a change or not.
Would it be easier to understand if the classes were smaller and there were unit tests?
Yes, it would.
Chances are if you change something today, you'll have to change something around it pretty soon.
Ultimately, this is going to make your work go faster, and that’s important in nearly every development organization.
Hi, I'm summarizing the book "Working Effectively with Legacy Code". If you are interested in the book, feel free to check it out here.
But I don't have much time?
Sometimes you are just under pressure.
Your boss might say, "We gotta ship this feature today!".
The hard part is that you might not know how long will feature take. When this happens you just take the easy way out and hack the feature the quickest way you can. Only then if you have time, you can go back and do some testing and refactoring.
That's the hard part.
What you just read is a real dilemma, do you pay now or pay more later? Either write tests as you make your changes or live with the fact that it is going to get tougher over time. It can be that tough, but sometimes it isn’t.
One way to "solve" this is to simply add new code. You don't have to break any dependencies nor write some difficult tests.
Once you have the new code set up and under tests, you can go ahead and refactor or completely remove the old code, hence improving your codebase.
Techniques to add new code
In the following chapters, we will cover a subset of techniques to fix a specific problem. In this chapter, we will cover techniques for adding new code.
Sprout Method
Sprout Method is a coding technique used when you need to add a feature to a system and it can be formulated completely as new code. If that's the case, then write the new code into a new method and call that method where the new functionality needs to be.
You might not be able to get everything under tests but at least you can write tests for the new code. Let's take a look at an example:
public class TransactionGate
{
    public void postEntries(List entries) {
        for (Iterator it = entries.iterator(); it.hasNext(); ) {
            Entry entry = (Entry)it.next();
            entry.postDate();
        }
        transactionBundle.getListManager().add(entries);
    }
}
We were tasked to verify that none of the new entries are already in transactionBundle before we post their dates and add them.
How do we do this?
Well if you look closely the change can be made before the loop. But it could happen inside the loop. We could change the code to this:
public class TransactionGate
{
    public void postEntries(List entries) {
        List entriesToAdd = new LinkedList();
        for (Iterator it = entries.iterator(); it.hasNext(); ) {
            Entry entry = (Entry)it.next();
            if (!transactionBundle.getListManager().hasEntry(entry) {
                 entry.postDate();
                 entriesToAdd.add(entry);
} }
        transactionBundle.getListManager().add(entriesToAdd);
    }
}
Simple, right?
Well, it was pretty invasive. There's no separation between the old code and the new code. Worse, we are making the code muddier. We are coupling two operations here: date posting and duplicate entry detection.
Imagine that we were tasked to work with nonduplicated duplicated entries before they were added, well, there is only one place in the code that a variable like that exists: right in this method. It will be tempting to just put that code in the method also. Could we have done this differently?
Yes, we simply move the new code to a new method:
public class TransactionGate
{
    List uniqueEntries(List entries) {
        List result = new ArrayList();
        for (Iterator it = entries.iterator(); it.hasNext(); ) {
            Entry entry = (Entry)it.next();
            if (!transactionBundle.getListManager().hasEntry(entry) {
                result.add(entry);
            }
		}
        return result;
    }

    public void postEntries(List entries) {
        List entriesToAdd = uniqueEntries(entries);
        for (Iterator it = entriesToAdd.iterator(); it.hasNext(); ) {
            Entry entry = (Entry)it.next();
            entry.postDate();
		}
		transactionBundle.getListManager().add(entriesToAdd);
    }
 }
The code is now less cluttered. If we need to add more code that works with the nonduplicated entries, we can make a method for that code also and call it from here. If we end up with yet more code, we can move this to a separate class and shift all of those new methods over to it.
The net effect is that we ended up keeping our methods small and easier to understand.
Steps to Implement Sprout Method
- Identify where you need to make your code change.
- If the change can be formulated as a single sequence of statements in one place in a method, write down a call for a new method that will do the work involved and then comment it out. (I like to do this before I even write the method so that I can get a sense of what the method call will look like in context.)
- Determine what local variables you need from the source method, and make them arguments to the call.
- Determine whether the sprouted method will need to return values to the source method. If so, change the call so that its return value is assigned to a variable.
- Develop the sprout method using test-driven development.
- Remove the comment in the source method to enable the call.
Advantages and Disadvantages
Sprout Method has advantages and disadvantages.
The main disadvantage is that when you use sprout method is that you are essentially giving up on the source method and class for the time being.
Although there are some disadvantages, there are a couple of key advantages:
- You are separating new code from old code.
- Even if you can’t get the old code under test immediately, you can at least see your changes separately and have a clean interface between the new code and the old code.
- You see all of the variables affected, and this can make it easier to determine whether the code is right in context.
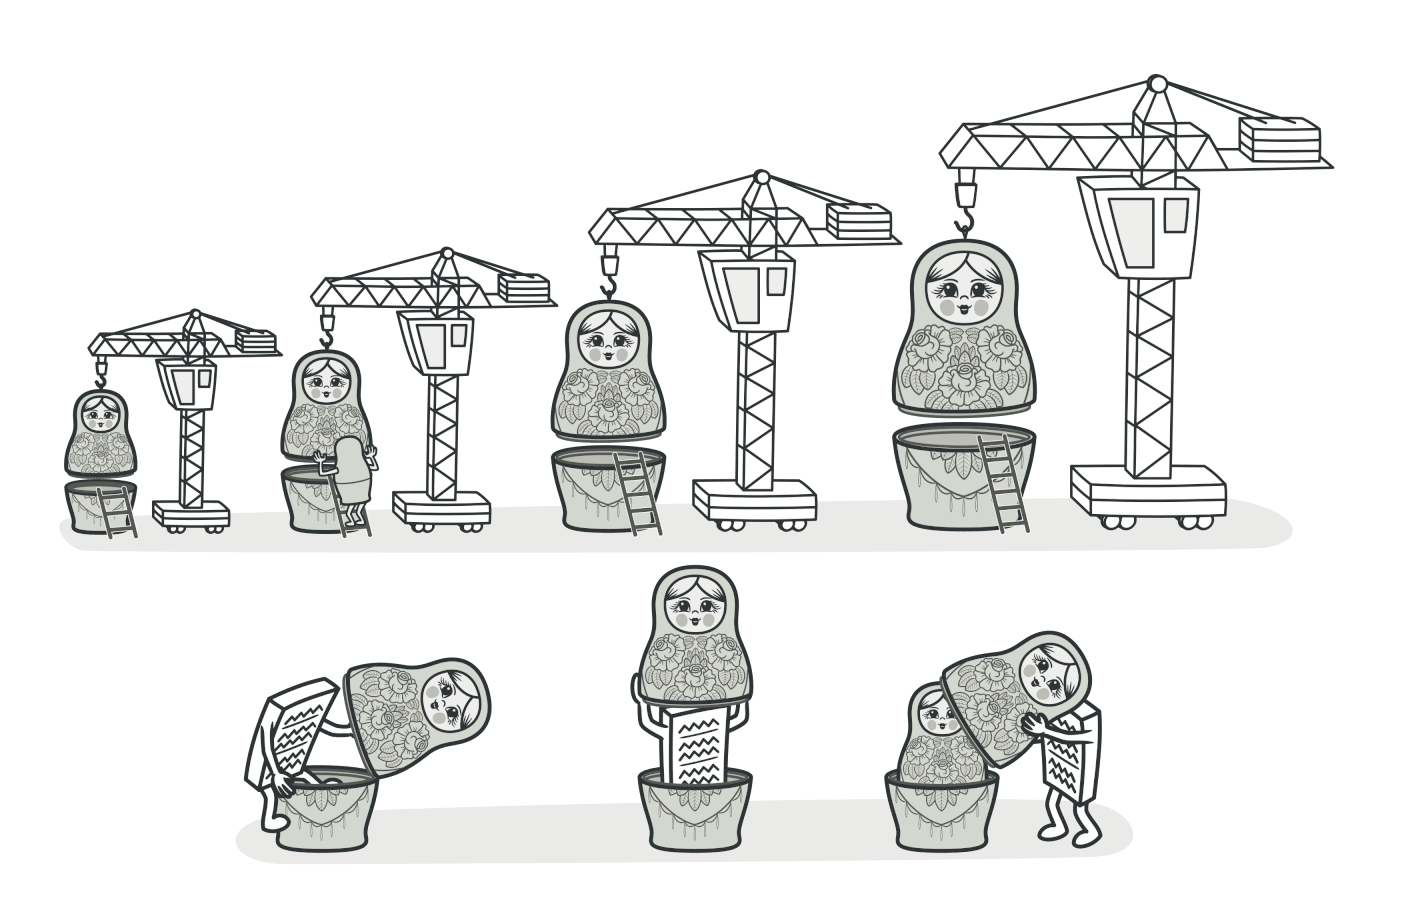
Sprout Class
Sprout Class is essentially Sprout Method but in a bigger scope. Instead of thinking in methods, you think in classes. For example, if you got to make a change in a class but there is just no way that you are going to be able to create objects of that class in a test harness in a reasonable amount of time, there is no way to sprout a method and write tests for it on that class.
In these cases, you can create another class to hold your changes and use it from the source class. Let’s look at a simplified example.
class QuarterlyReportGenerator {
    public void generate() {
        Result results = database.queryResults(beginDate, endDate);
        String pageText;
        pageText += "<html><head><title> Quarterly Report</title></head><body><table>";
        if (results.size() != 0) {
            for (int i = results.begin(); i != results.end(); ++i) {
                pageText += "<tr>";
                pageText += "<td>" + i -> department + "</td>";
                pageText += "<td>" + i -> manager + "</td>";
                char buffer[ 128];
                sprintf(buffer, "<td>$%d</td>", i -> netProfit / 100);
                pageText += string(buffer);
                sprintf(buffer, "<td>$%d</td>", i -> operatingExpense / 100);
                pageText += string(buffer);
                pageText += "</tr>";
            }
        }
    }
}
Consider the following class QuarterlyReportGenerator; which is huge and has a lot of dependencies tangled, but we need to make sure generate() will add a header row for the HTML table it’s producing.
Let's consider the class QuarterlyReportGenerator which is a huge class that has a lot of dependencies. We were tasked to add a header row for the HTML table it’s producing.
Furthermore, let’s suppose that this is a huge class and that it would take about a day to get the class in a test harness, and this is time that we just can’t afford right now.
One way to do this is to instantly add additional code into our generate method but this would just make our code messier and harder to test.
The preferred method would be to formulate another class called QuarterlyReportTableHeaderProducer with the method makeHeader:
class QuarterlyReportTableHeaderProducer {

    public String makeHeader() {
        return "<tr><td>Department</td><td>Manager</td> < td > Profit </td ><td > Expenses </td >";
    }

}
Then you would create an instance of this class and use it in the generate method:
...
QuarterlyReportTableHeaderProducer producer;
pageText += producer.makeHeader();
...
You might say, "Isn't this a bit excessive. Why would you create a whole new class for such a small change?"
Well, at this point, that is true. The only reason we’re doing it is to get out of a bad dependency situation. This will help us by allowing us to create better abstractions so for example, you could create an interface for our QuarterlyReportTableHeaderProducer and have it work not only with HTML but with other formats too.
Another benefit would be that as we separate all the dependencies, it will be easier to have them all under tests. As everything is not accessed directly but through the use of interfaces, it will be easier to mock.
Steps to Implement Sprout Class
- Identify where you need to make your code change.
- If the change can be formulated as a single sequence of statements in one place in a method, think of a good name for a class that could do that work. Afterwards, write code that would create an object of that class in that place, and call a method in it that will do the work that you need to do; then comment those lines out.
- Determine what local variables you need from the source method, and make them arguments to the classes’ constructor.
- Determine whether the sprouted class will need to return values to the source method. If so, provide a method in the class that will supply those values, and add a call in the source method to receive those values.
- Develop the sprout class test first.
- Remove the comment in the source method to enable the object creation and calls.
Advantages and Disadvantages
The key advantage of sprout class is that it allows you to move forward with your work with more confidence than you could have if you were making invasive changes. At some time later, you might be able to revisit the source class and put it under test.
The critical disadvantage of Sprout Class is conceptual complexity. As programmers learn new codebases, they develop a sense of how the key classes work together. When you use Sprout Class, you start to gut the abstractions and do the bulk of the work in other classes. At times, this is entirely the right thing to do. At other times, you move toward it only because your back is against the wall. Things that ideally would have stayed in that one class end up in sprouts just to make safe change possible.
Wrap Method
Adding behaviour to existing methods is easy to do, but it's often not the right thing to do. When you first create a method, it usually does just one thing. But over time additional things must be done. Chances are, you’re adding it just because it has to execute at the same time as the code you’re adding it to.
When you group things just because they have to happen at the same time, the relationship between them isn’t very strong. Later you might find that you have to do one of those things without the other, but at that point, they might have grown together. Without a seam, separating them can be hard work.
When you want to add behaviour in a non tangled way, you can use Sprout Method, but there is another way that is called Wrap Method.
Let's take an example.
public class Employee {
    ...
    public void pay() {
        Money amount = new Money();
        for (Iterator it = timecards.iterator(); it.hasNext(); ) {
            Timecard card = (Timecard)it.next();
            if (payPeriod.contains(date)) {
                amount.add(card.getHours() * payRate);
            }
}
        payDispatcher.pay(this, date, amount);
    }
}
Our pay method is used to add up the daily timecards for an employee and then send his payment information to a payDispatcher. We have this requirement that every time we pay an employee we should save that in some sort of log.
The "easy" and tangled way to do this is to simply put the additional code in the pay method but there is a better way.
public class Employee {
    private void dispatchPayment() {
		Money amount = new Money();
		for (Iterator it = timecards.iterator(); it.hasNext(); ) {
            Timecard card = (Timecard)it.next();
            if (payPeriod.contains(date)) {
                amount.add(card.getHours() * payRate);
            }
		}
        payDispatcher.pay(this, date, amount);
    }

    public void pay() {
        logPayment();
        dispatchPayment();
    }
}
This is one form of the Wrap Method. We create a method with the name of the original method and have it delegated to our old code. We use this when we want to add behaviour to existing calls of the original method. If every time a client calls pay() we want logging to occur, this technique can be very useful.
There is another form of the Wrap Method that just adds a new method with that additional behaviour. So that the client has multiple options.
public class Employee {
    public void makeLoggedPayment() {
       logPayment();
	   pay();
    }

    public void pay() {
        ...
    }

    private void logPayment() {
        ...
    }
}
What's the difference between Wrap Method and Sprout Method?
The difference is trivial.
You use Sprout Method when you choose to write a new method and call it from an existing method. On the other hand, you use Wrap Method when you choose to rename a method and replace it with a new one that does the new work and calls the old one.
Steps to Implement Wrap Method
There are two versions to implement this, the first way is when we want to use the same name as the old method:
- Identify a method you need to change.
- If the change can be formulated as a single sequence of statements in one place, rename the method and then create a new method with the same name and signature as the old method.
- Place a call to the old method in the new method
- Develop a method for the new feature, and make sure to test first.
The second method is when we don’t care to use the same name as the old method, the steps look like this:
- Identify a method you need to change.
- If the change can be formulated as a single sequence of statements in one place, develop a new method for it using test-driven development.
- Create another method that calls the new method and the old method.
Advantages and Disadvantage
The two main advantages of Wrap Method are:
- It's a good way of getting new tested functionality into an application when we can’t easily write tests for the calling code. Unlike Sprout Method and Sprout Class which add code to existing functionality, Wrap Method does not increase the size of existing methods.
- It explicitly makes the new functionality independent of existing functionality. When you wrap, you are not intertwining code for one purpose with code for another.
On the other hand, the main disadvantage of Wrap Method is that it can lead to poor names. In the previous example, we renamed the pay method dispatchPay() just because we needed a different name for code in the original method.
Wrap Class
Wrap Class is the class level companion to Wrap Method. They essentially have the same concept. So if we need to add behaviour in a system, we can add it to an existing method, but we can also add it to something else that uses that method. In Wrap Class, that something else is another class.
Let's take a look at the code from the Employer class again.
class Employee
{
    public void pay() {
        Money amount = new Money();
        for (Iterator it = timecards.iterator(); it.hasNext(); ) {
            Timecard card = (Timecard)it.next();
            if (payPeriod.contains(date)) {
				amount.add(card.getHours() * payRate);
            }
		}
        payDispatcher.pay(this, date, amount);
    }
	...
}
The requirements are the same, we want to log employee payments. We can do this by creating another class that has a pay method. Objects of this class can take in an employee as an argument, log the payment info, and then delegate it to the employee so it can perform the payment.
The code will look like this.
class LoggingEmployee extends Employee
{
    public LoggingEmployee(Employee e) {
        employee = e;
	}
    public void pay() {
        logPayment();
        employee.pay();
    }
    private void logPayment() {
        ...
	}
	...
}
PS. This technique is also called the decorator pattern. Here's a great article on the pattern.


Steps to Implement Wrap Class
- Identify a method where you need to make a change.
- If the change can be formulated as a single sequence of statements in one place, create a class that accepts the class you are going to wrap as a constructor argument.
- Create a method for that class, using test-driven development, that does the new work. Write another method that calls the new method and the old method on the wrapped class.
- Instantiate the wrapper class in your code in the place where you need to enable the new behaviour.
Advantages and Disadvantage
The biggest disadvantage of Wrap class would be that it's hard to do at the beginning because large codebases are pretty difficult to work with. But if done right then you get to enjoy the benefits of untangled dependencies.
Conclusion
In this chapter, we outlined techniques to make changes without getting existing classes under test. These techniques allow us to slowly move to a better design so that you can eventually clean all the trash that you have in your project.
This was a pretty long article, I hope to create more of these in the future. If you enjoy any of this, make sure to follow me on Twitter.
Thanks for reading
No spam, no sharing to third party. Only you and me.
Member discussion